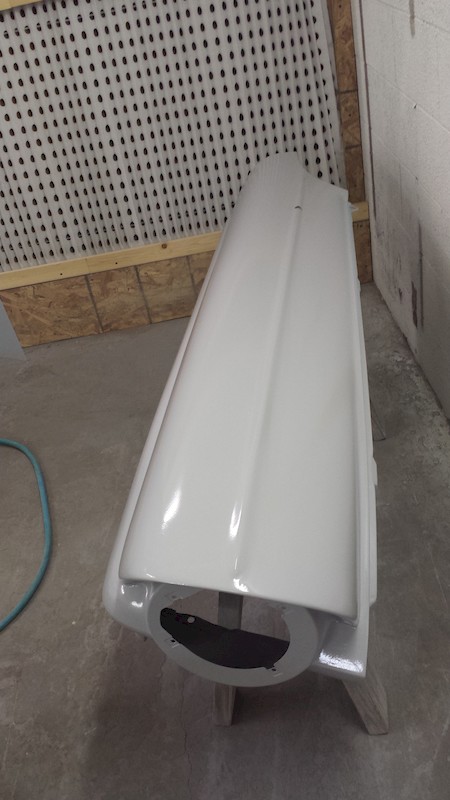
Work continued on the fenders. One very subtle change that I asked George Layton to create was to extend the factory top-of-fender, front-to-back, “peak” so it would terminate over the one-time separate “eyebrow” above the front fenders. The tapered peak produces a more elegant design, however supremely subtle. Other work has proceeded also with standard body working techniques used to prepare the fenders and hood for priming.
One last look before priming: n this overhead view, you can see how the peak has been extended. Such a cool touch, if I do say so!
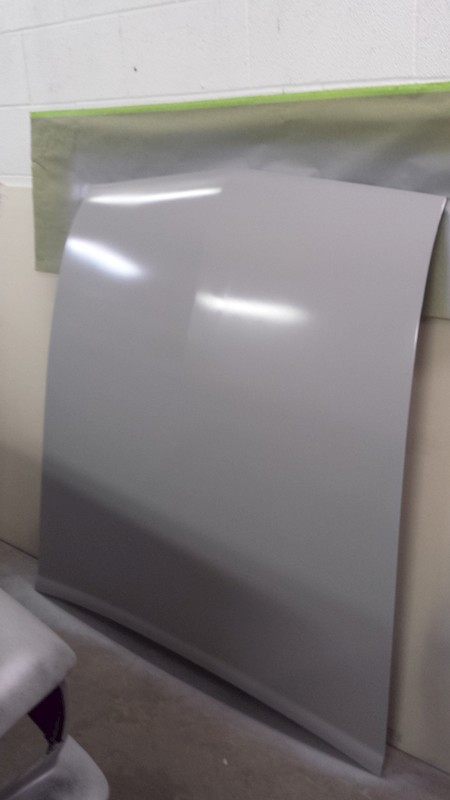
The underside of the hood has been fully sanded and heavily primed. Hanging the hood vertically really makes the job easier. We poured catalyzed primer in through the drain holes at the leading edge of the hood to “ fill” the area and keep the tin worm away!

The top of the hood was also exhaustively block sanded and coated with a heavy coat of catalyzed primer surfacer. This primer will be guided-coated, and blocked before sealer and the color are applied.
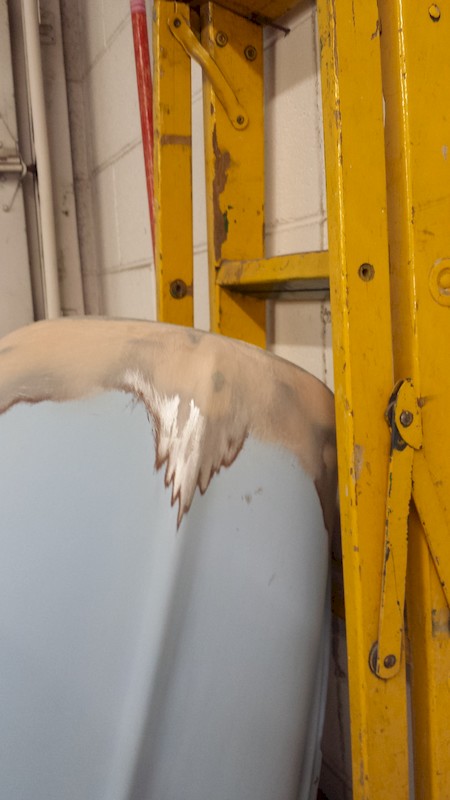
After a lot of blocking on the top coated bondo (applied over the fiberglas reinforced bondo), plus blocking over the color coats previously applied, George laid down a couple of heavy coats of catalyzed primer.
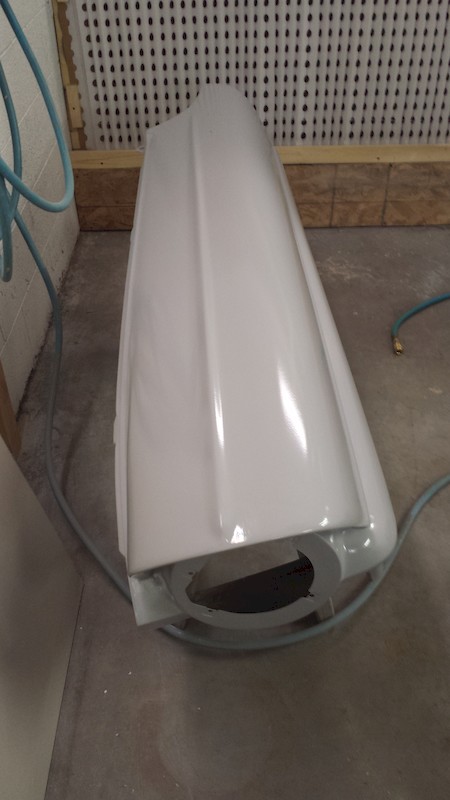
The same technique was used on the other fender, too. These fenders will now be guide-coated and blocked twice before sealer and paint is applied.


