My goal with the front end of the Vicky has been to remove evidence of how the factory assembled the fenders by welding up the gaps and seams. The effort to remove panel gaps by welding up the seams doesn’t change the factory shapes, but only “cleans up” the design by making everything look like it “grew” this way. George Layton removed the script holes from the front fenders, and the header panel between the headlights as well as welding the panel beneath the headlights to the front fenders. And he’s welded up the antenna hole on the top of the passenger front fender. Check out these photos:
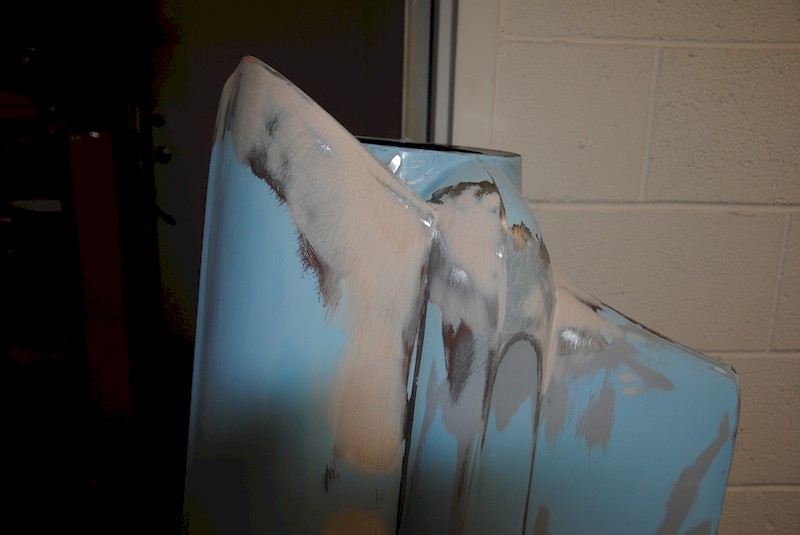
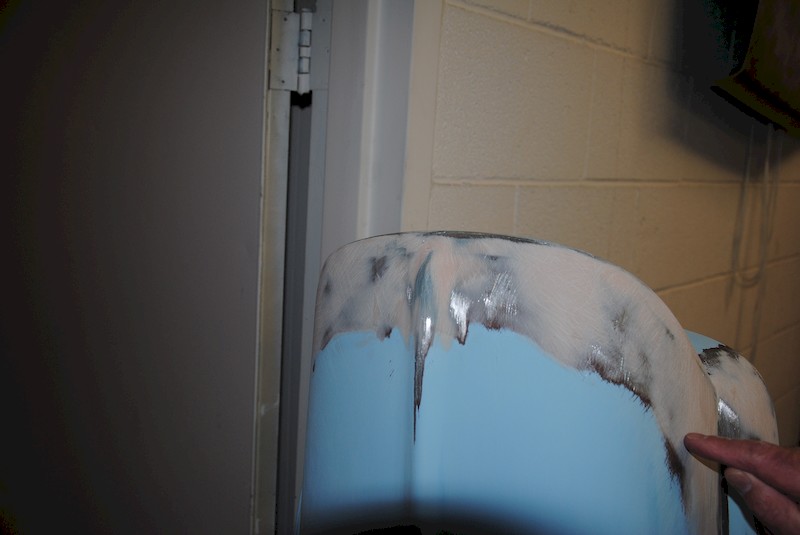
This image shows the fenders after the seams have been welded up, and the “eyebrow” frenched to the fender. George used the ultra high strength bondo (that is mixed with fiberglas strands) to fill in the gaps after the weld marks are ground down.
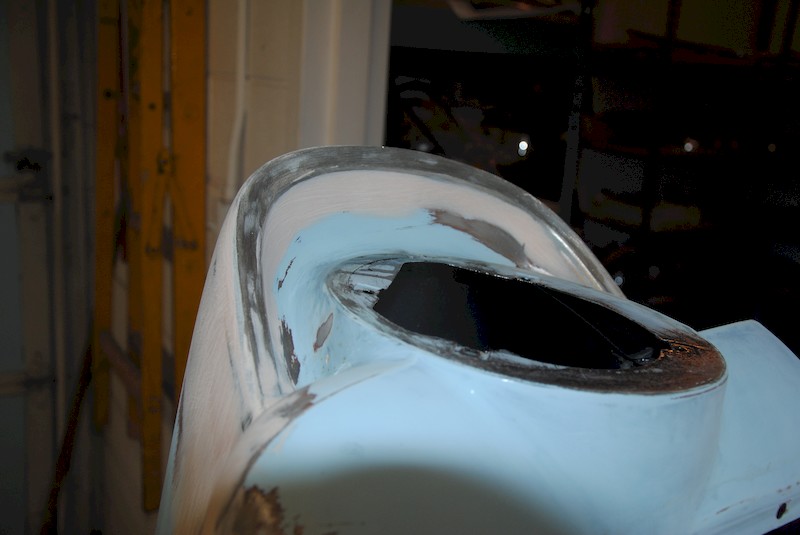
Note the smoothing work done on the underside of the eyebrow, and the light filler applied over the welded-up holes on the side of the fender that once hosted the “Fairlane” scripts. This body work, substantial as it is, will be so subtle in appearance that not many will even notice the changes.
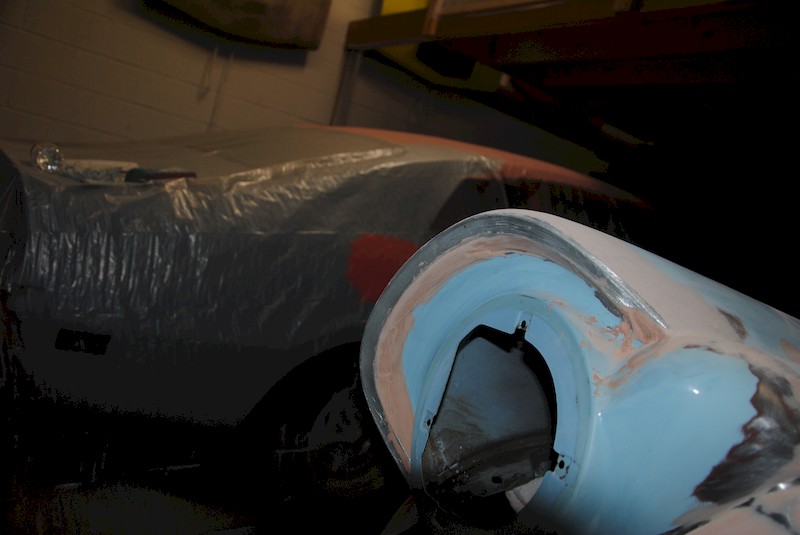
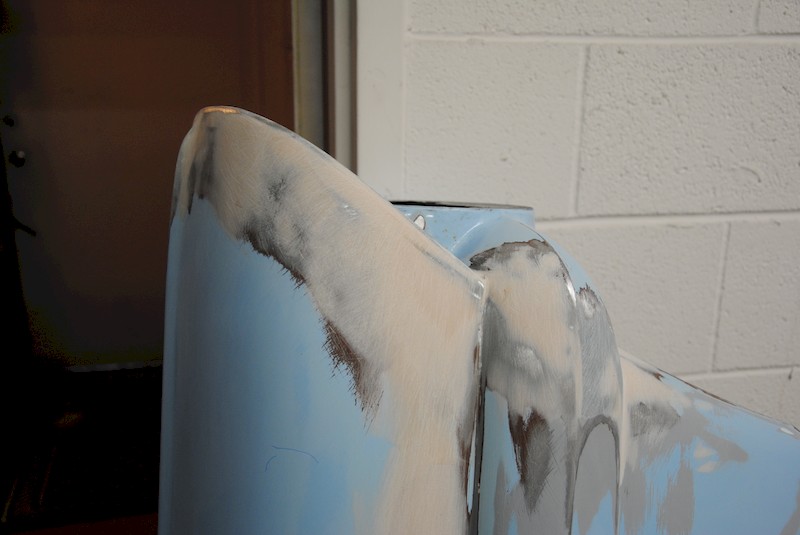
This side view of the passenger fender is interesting for several reasons – check out the finely-grained bondo applied over the fiberglass-enhanced bondo applied over the welds. Also, look at the grey primer that George sanded to – this fender was repaired at a time before I got the car – – and spot painted. We noted no hammer marks on the inside of the fender so the damage that caused the spot painting might have been no more significant than paint damage.
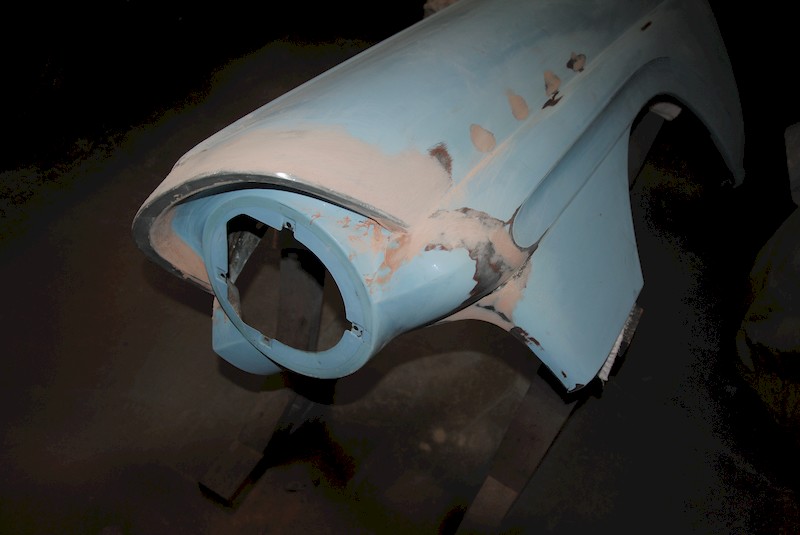
In this view, you can see the light bondo applied under the eyebrow. I’m preserving the protruding headlight bezel.
Check out the extended top-of-fender peak in which the factory peak was extended forward about two inches.
As we’ve mentioned, we frenched in the top of fender extension part found on the factory fender. Here, high-quality polyester putty has been applied and sanded to shape.
Here’s another view of the driver’s side fenders with the initial shaping of the headlight eyebrow area underway. The little patches of putty going down the fender line mark the area where the small “Fairlane” script mounting holes were welded up.
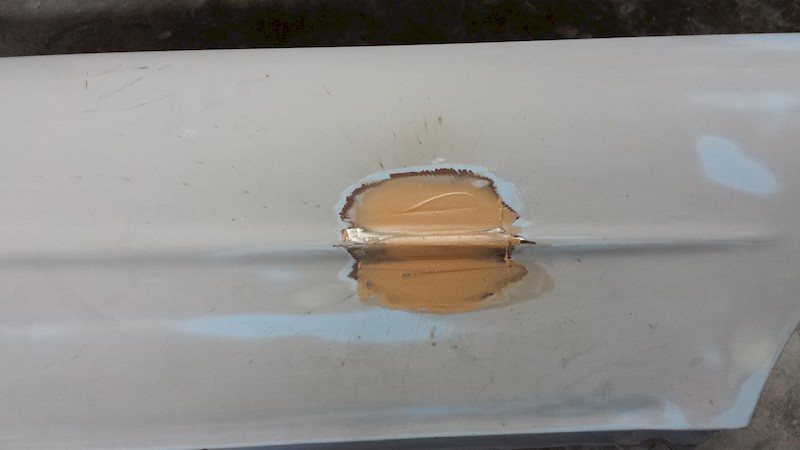
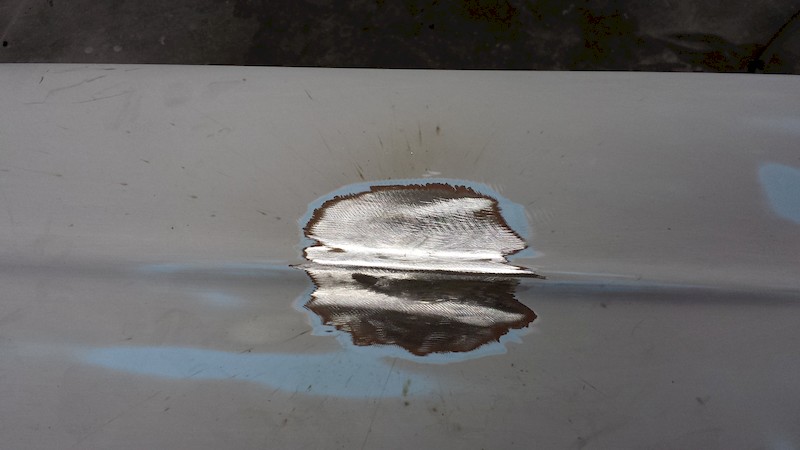
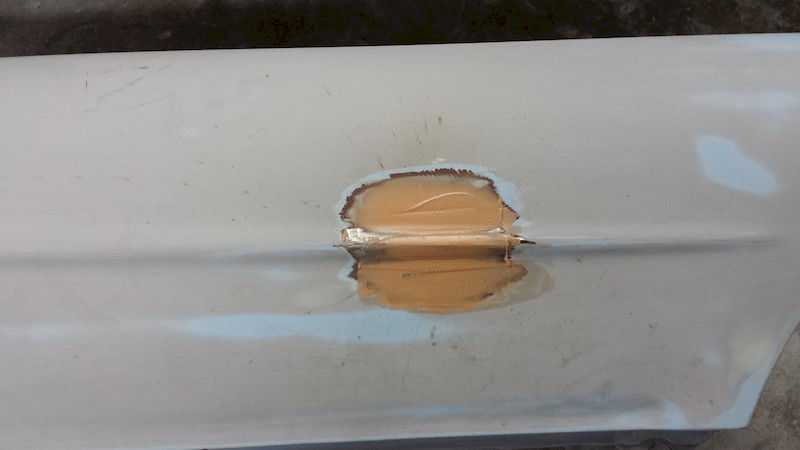
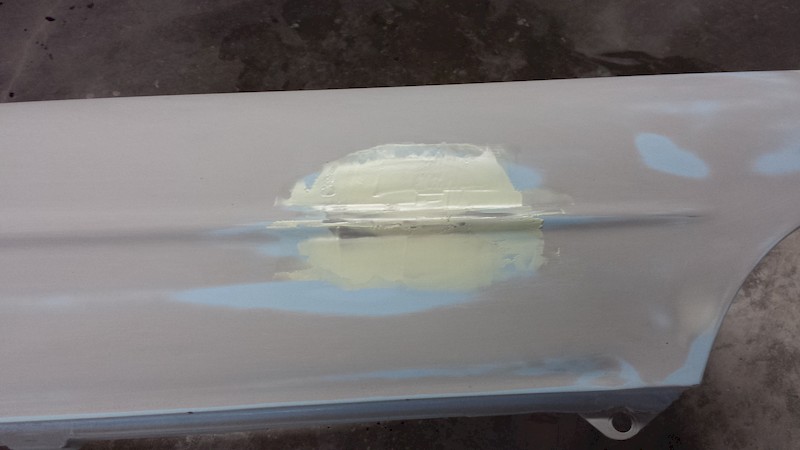
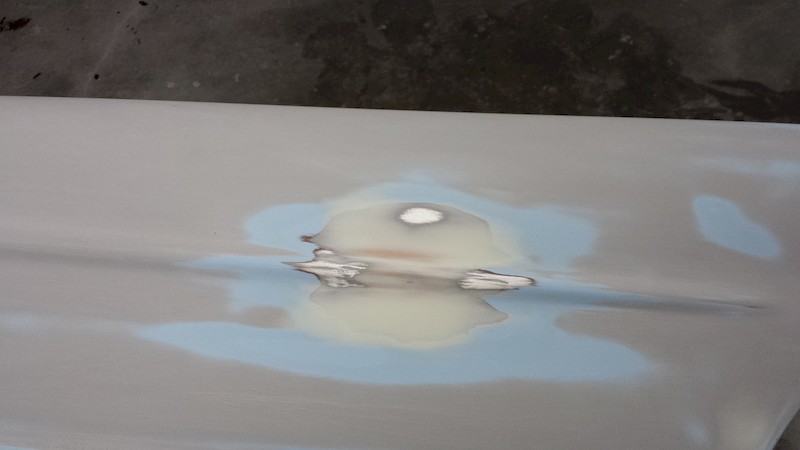
I asked George to weld up the hole that originally hosted the factory antenna. He ground the paint away from the factory hole, and cut a piece of fresh sheet metal and MIG-welded the insert to the fender. After welding, the area was ground and hammer-welded to shape.
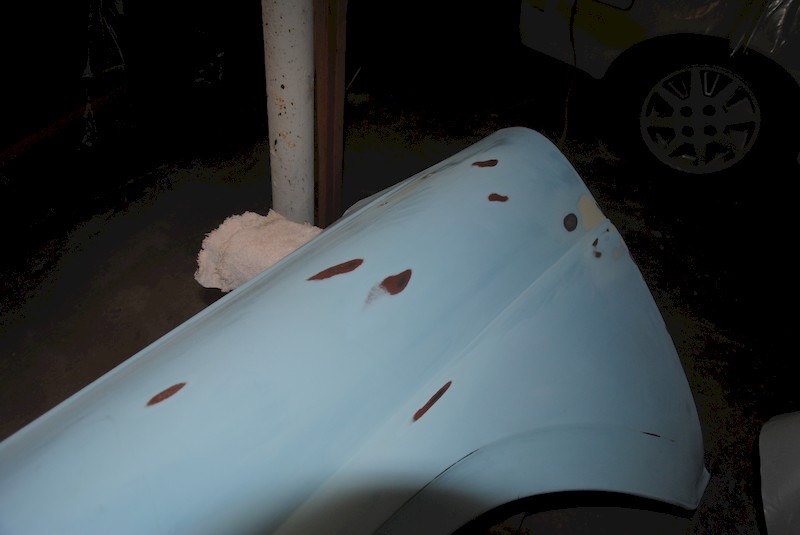
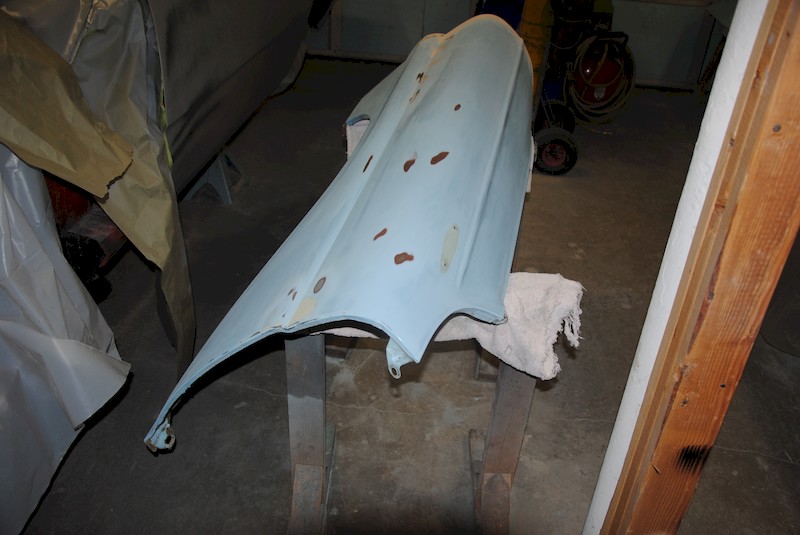
It was surprising how many slight surface “baubles” (as body man Layton calls them) appeared down the length of the fender. The body looked pretty good when I got the car, but the light blue hid a lot of minor irregularities in the bodywork.
Seen from the opposite side of the driver’s side front fender, the little hiccups in the bodywork were pretty easy to just “sand out” followed by a heavy coat of catalyzed primer.
A thin layer of polyester filer was the only amount needed, – – used to fill in very minor surface imperfections.
After the first application of filler was sanded, fresh filler was mixed (with a different color catalyst to discover where the surviving surface irregularities are).
Here’s what the area looked like after a second sanding.
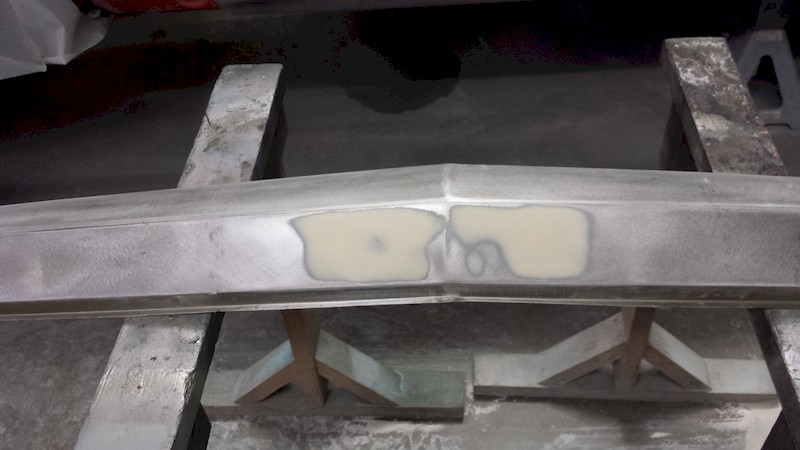
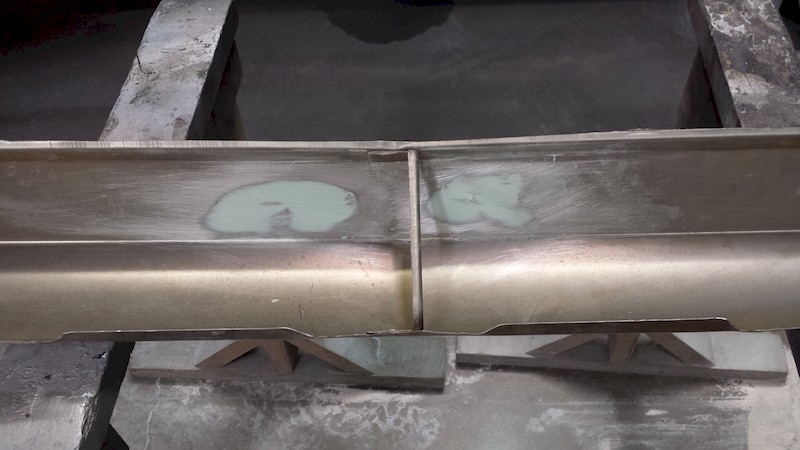
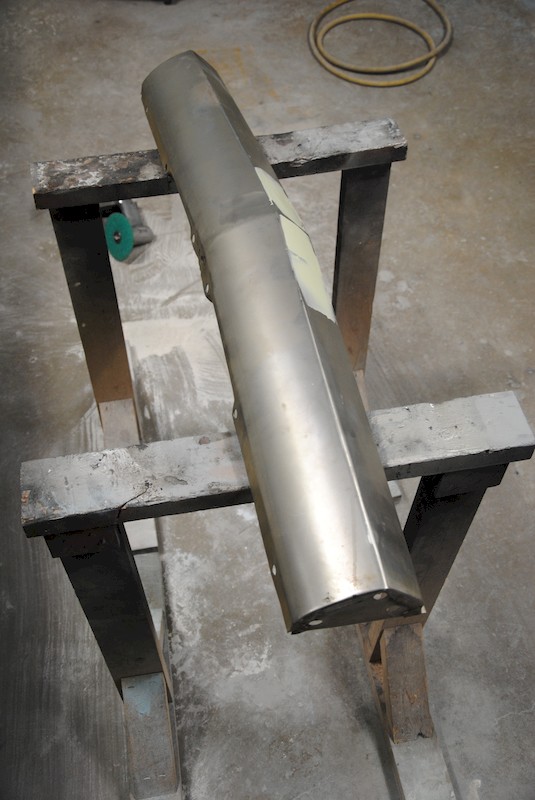
The shaped panel that stylistically and structurally connects the front fenders was stripped to bare metal and the “Fairlane” script holes were welded up to clean up this panel. From the outside, the dressed weld marks was filled with a bit of bondo. This panel will be painted inside and outside to the same standard once it’s welded to the inside of both front fenders to remove that panel seams, also.
The weld was ground down on the back of the panel to achieve true craftsmanship, with a thin skiff of bondo applied over the slight depressions left in the metal. Note the vertical filler shape placed by the factory to maintain the shape in the middle of the part.
There’s nothing like bare, virgin metal when it comes time to modifying that panel. This panel was chemically (not mechanically) stripped of the paint.
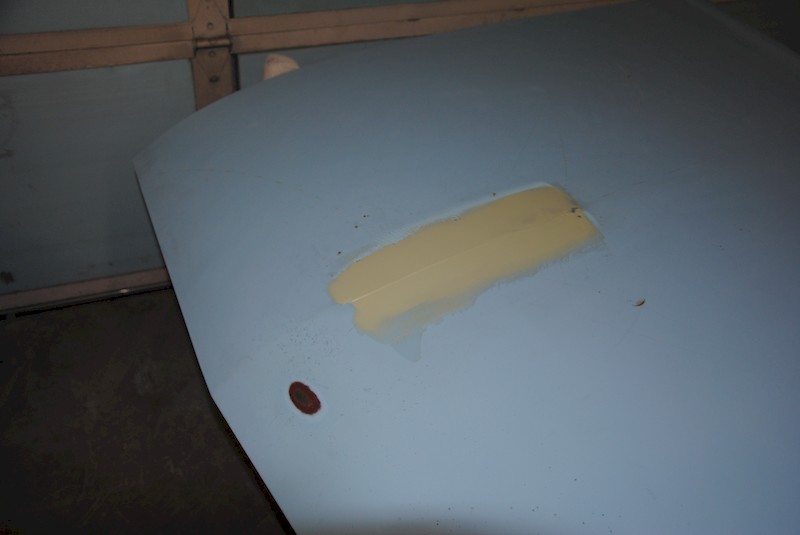
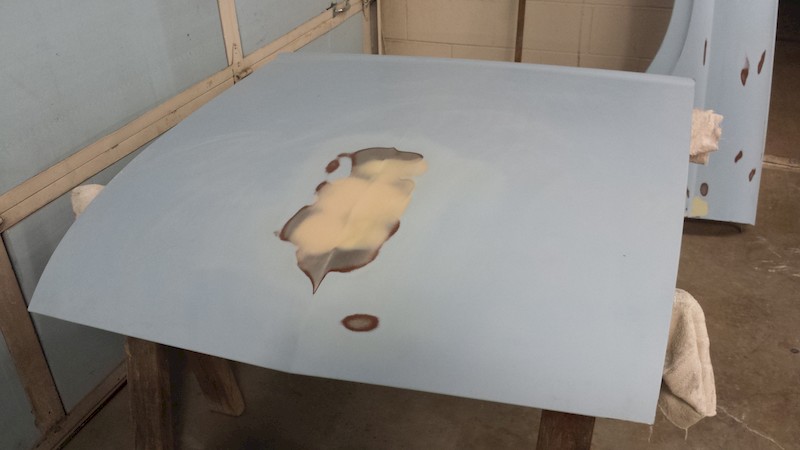
The factory “gunsight” on the hood was removed and three holes welded up. George is so good at this that there was NO panel warpage; the area needed only a light touch of filler to deal with surface irregularities caused by grinding marks.
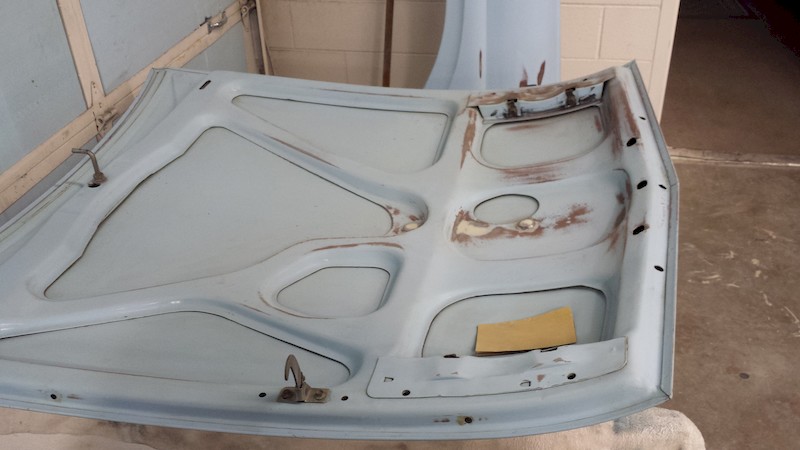
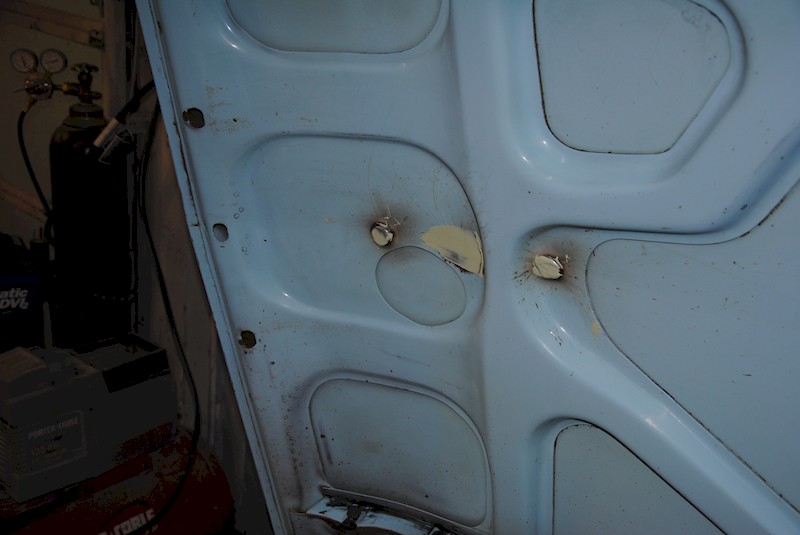
With just a bit of sanding, the factory bosses were sanded flat. The underside of the hood will now be thoroughly sanded and then primed and painted.
Once the weld slag was ground down, a thin layer of bondo was applied and subsequently rough sanded into shape. Check out the round sanded area near the reworked area – there was a slight raised spot there.
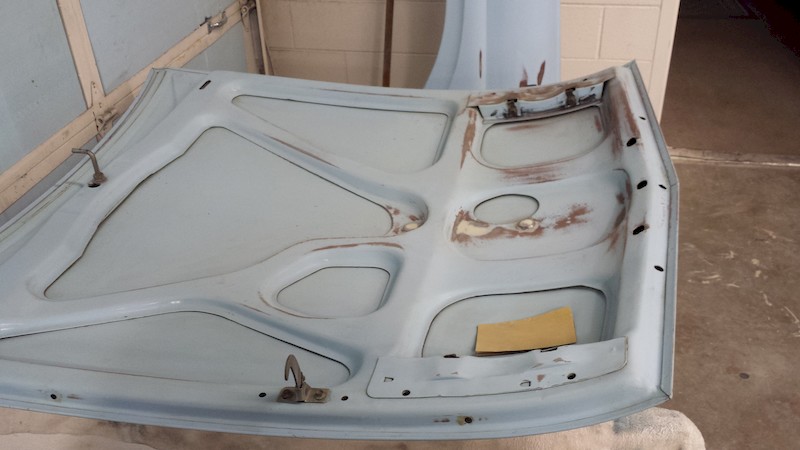
The holes on the underside of the hood were also ground flat and filled.
The entire under side of the hood was laboriously hand sanded, getting down into all of the recessed areas – this side of the hood will be painted as if it were the convex side, and rubbed out to shine like the top of the fenders! Of course, the latch and the hood catch were removed before sanding and painting!

