With the paint on the firewall and the frame paint fully cured, it was time to move forward with assembling the car. After more than a year with the car being apart, it is good to get started on re-assembly.
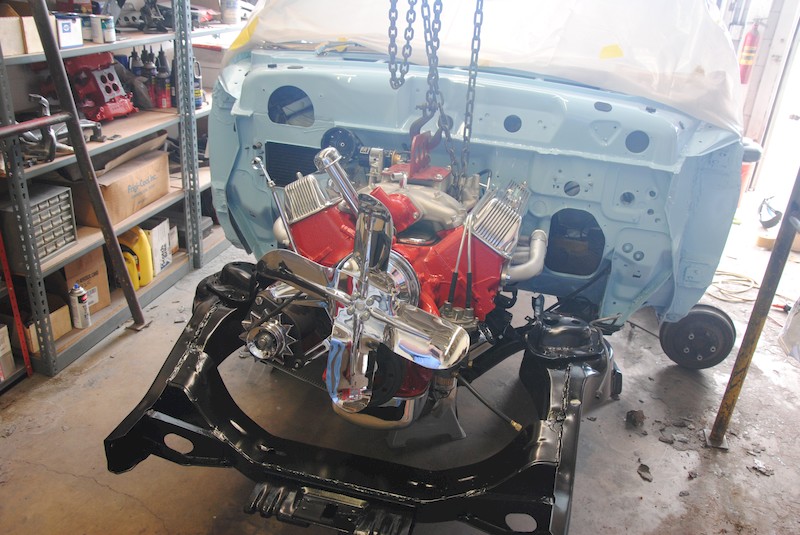
The assembled engine had been hanging from the A frame, and thoroughly covered up, and sitting ignominiously at the front of the car for several months at this point. It was time to hoist it into place which Mike has done here.
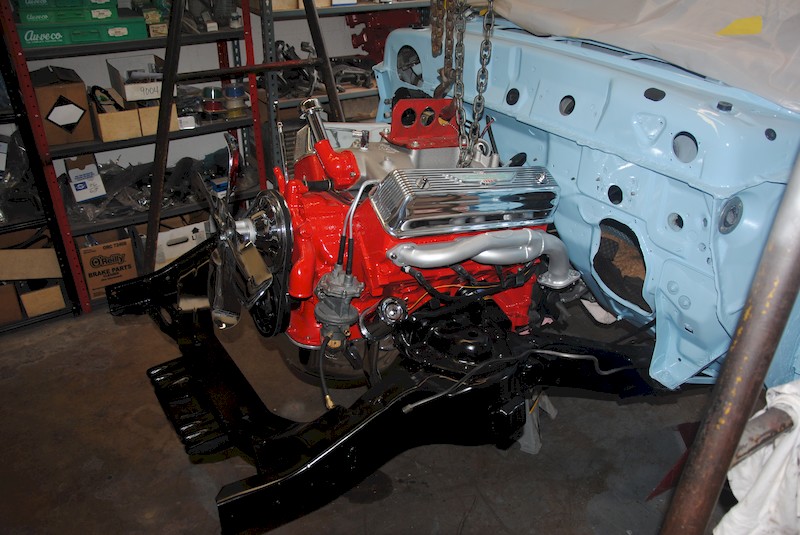
Seen from the driver’s side, the engine/trans assembly creates a dramatic appearance. Mike has remarked how expertly the headers rout the exhaust inside the frame – the outlet flange was designed to precisely match the outlet flange of the factory headers. Eureka!
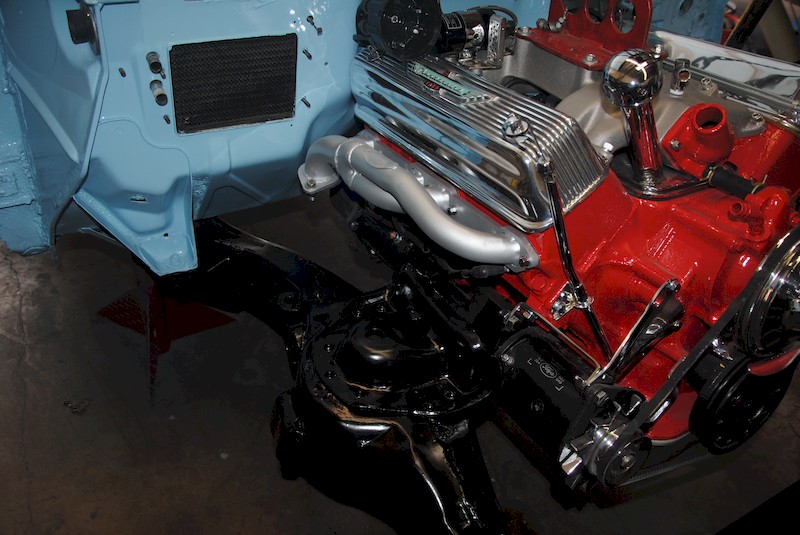
From the passenger side, the contrast between the black frame, blue firewall, and multi-colored engine is beautiful.

From a lower angle, the voluptuous headers counter balance the rectangular shapes on the engine, frame and firewall.
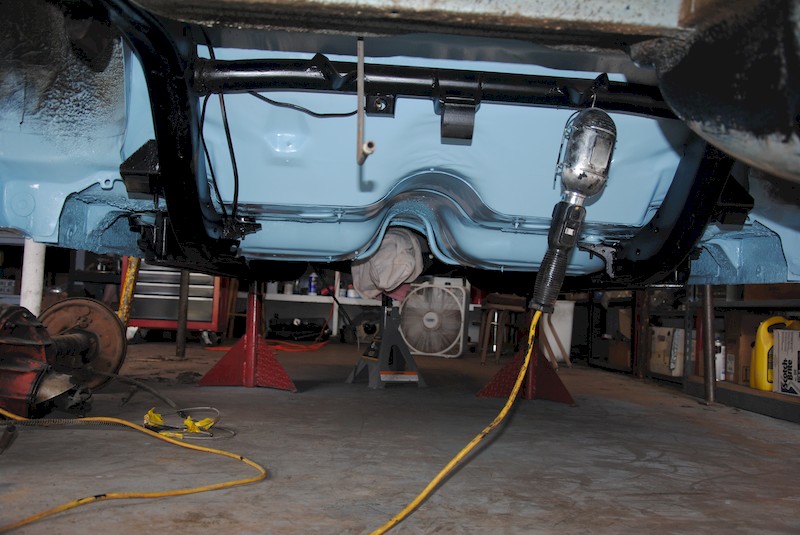
The underbody sheetmetal was virtually flawless, requiring only a tiny bit of sanding and some very minor priming in place. Wayne thoroughly cleaned the metal surface, wiped it down with a Prep-Sol, and laid on the Glassurit acrylic enamel. You’re looking forward to the front of the car – the work has been done to the crossmember to which the rear axle shocks mount.
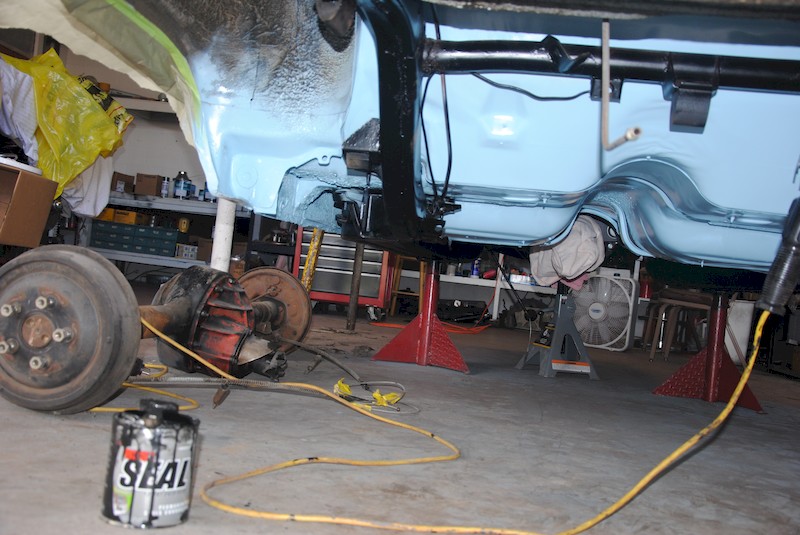
The factory applied some undercoating around the inside radius of the rear wheelhouse – that will be preserved.
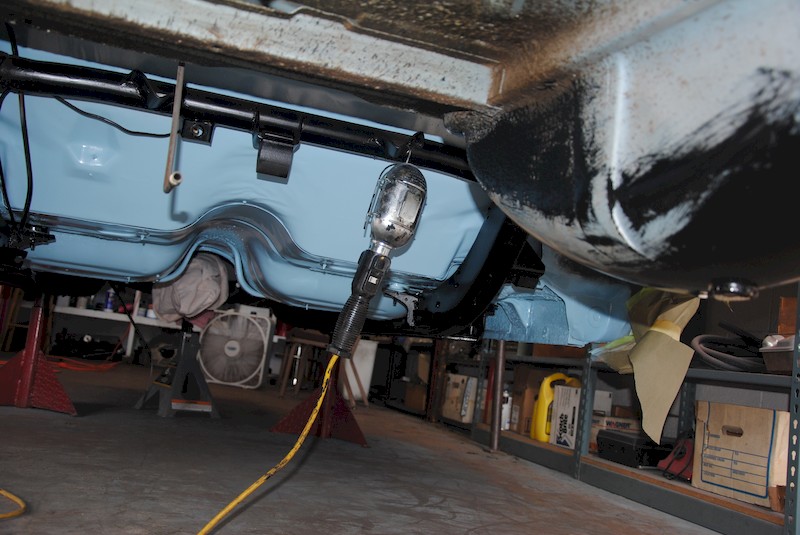
With the gas tank removed for cleaning, slightly rusty areas on the spare tire well have been coated with POR (light brush application). When dry, the entire surface is block sanded to smooth it out after which the blue enamel is applied.
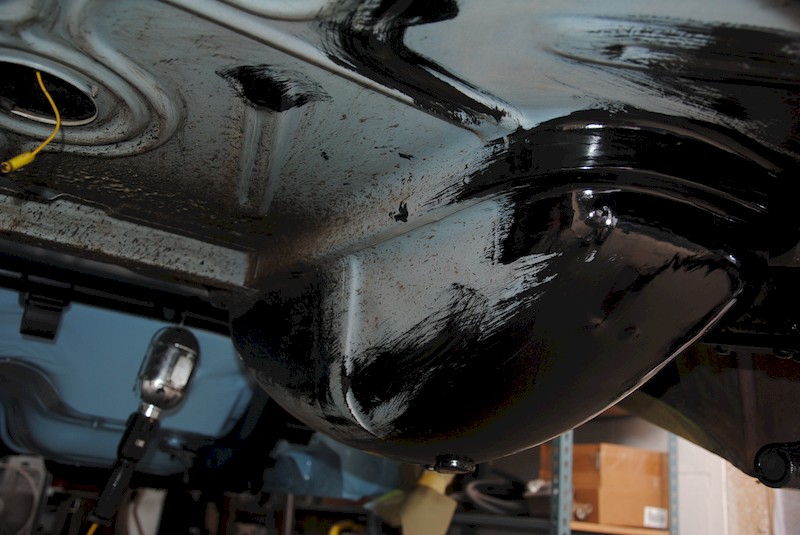
The spare tire wheel is seen better here. POR dries hard and semi-gloss, and provides an excellent surface for sanding and top coating with enamel. There was NO systematic rust (and certainly NO tin worm!) on the floorboards.
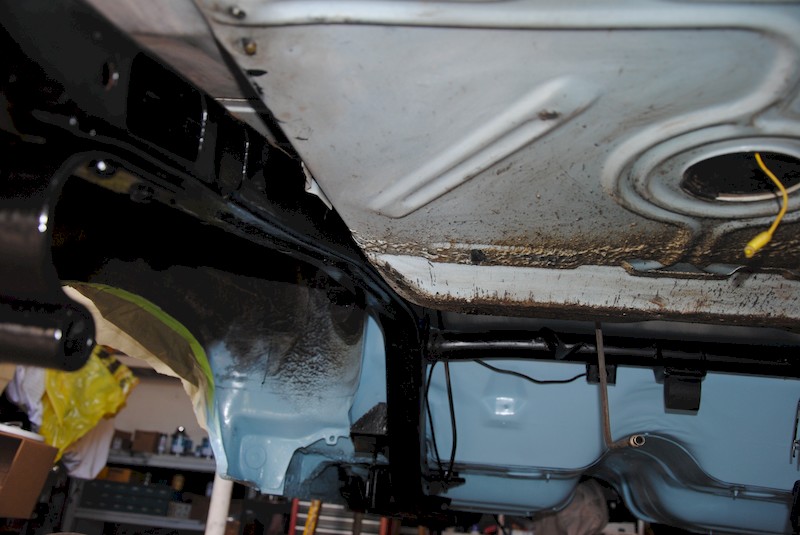
The upper surface in the foreground is the area above the gas tank – look how clean it is!
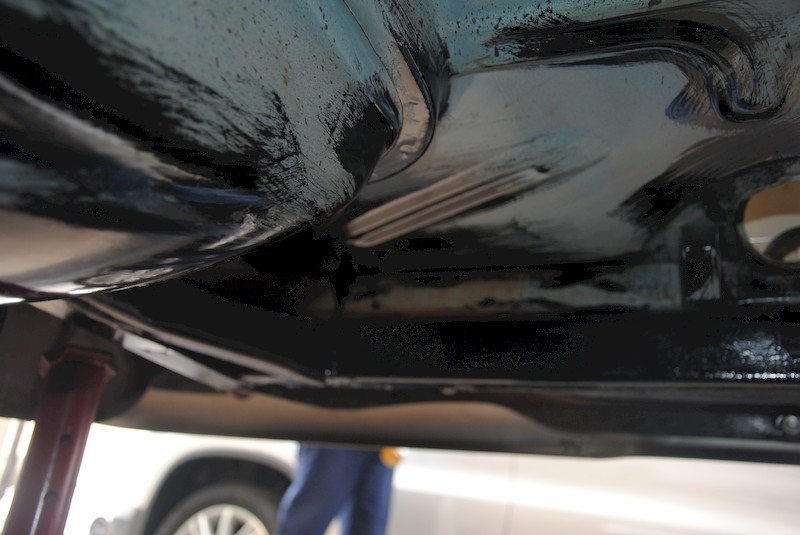
The frame was wire brushed to remove very light surface rust, and the painted with POR, which will be sanded before the semi-gloss Glassurit enamel is applied.
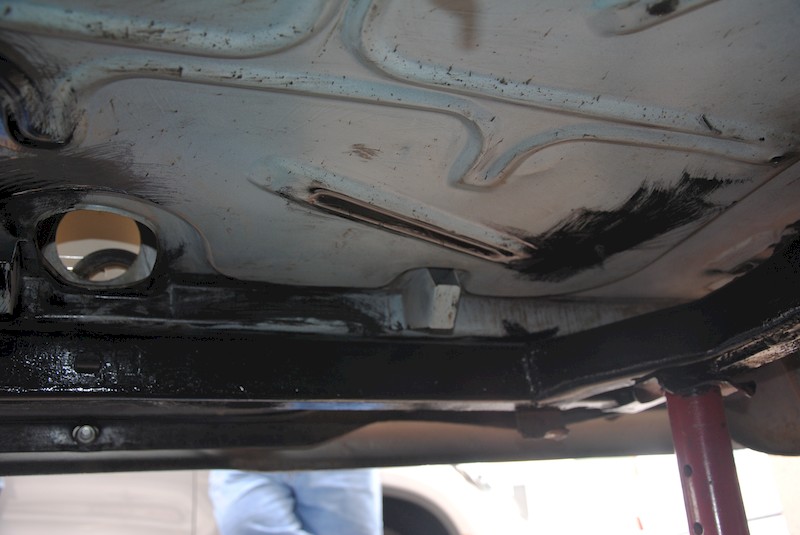
The shot faces the rear of the car – the round hole is the opening through which the gas filler tube protrudes. Check out how clean – and utterly undamaged! – the underbody sheetmetal is. This is the underside of the trunk.
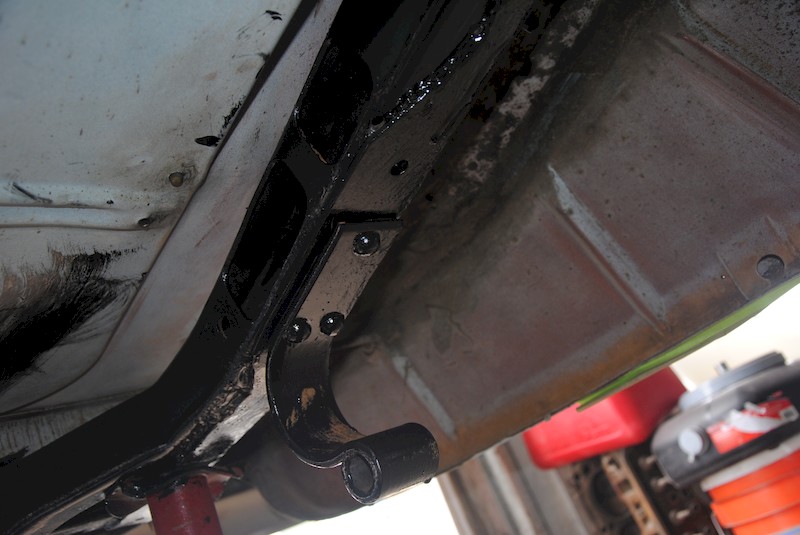
This is the inside of the rear quarter panel on the driver’s side of the car. Note the drain hole, the vertical strengthening rib and the mint sheetmetal is (and not that there’s almost no factory paint on it – you’re seeing the factory red oxide primer!
