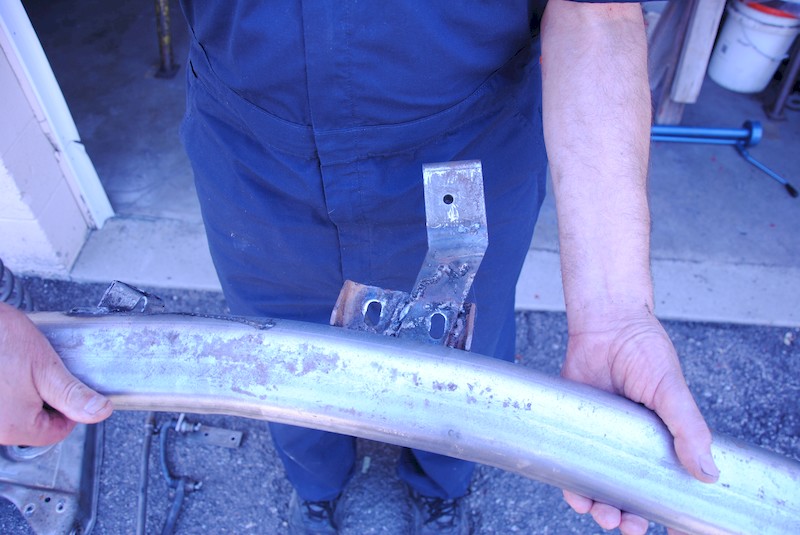
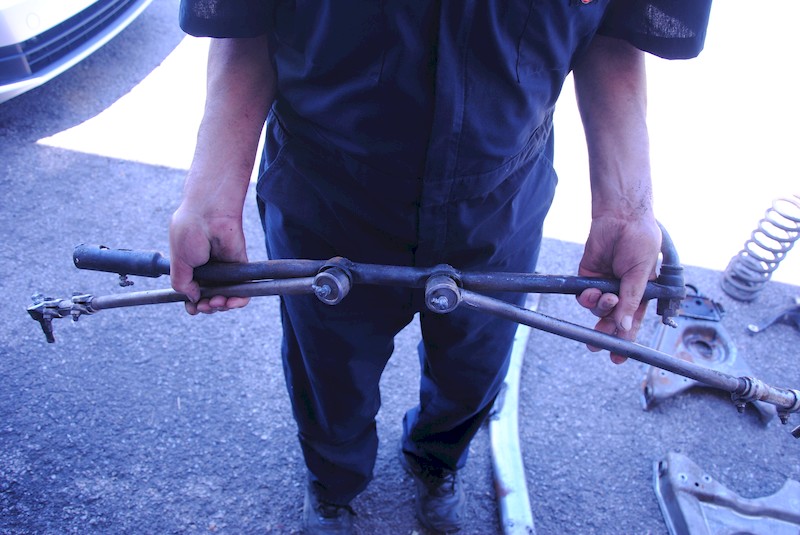
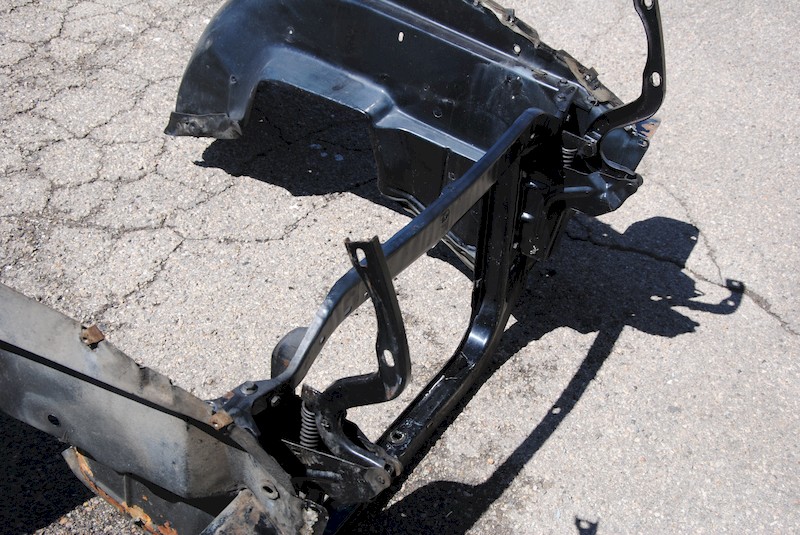
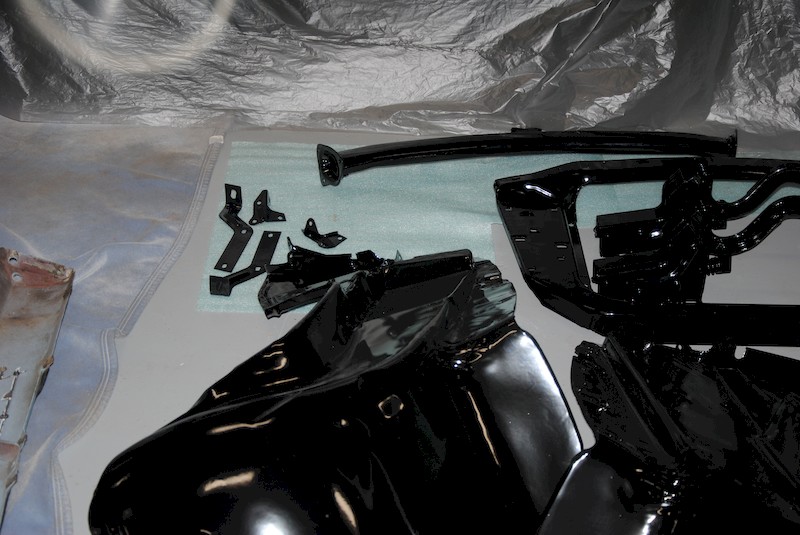
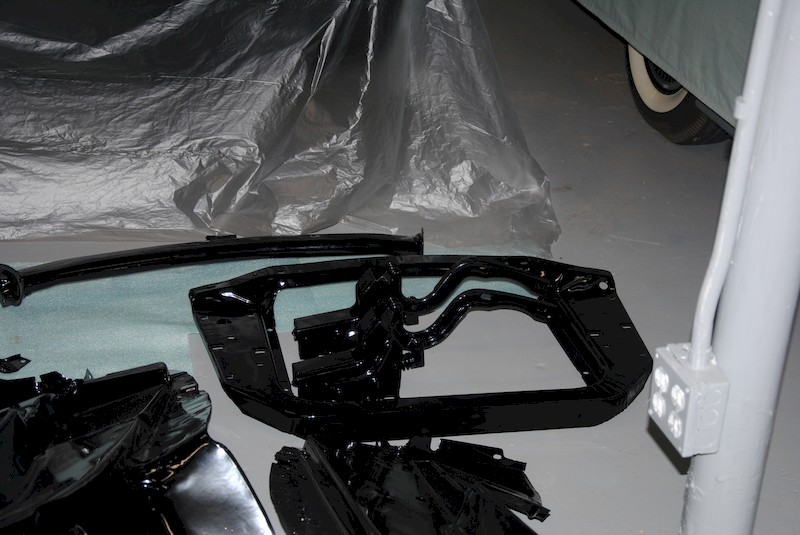
The front suspension parts, and other parts, are back from cleaning.
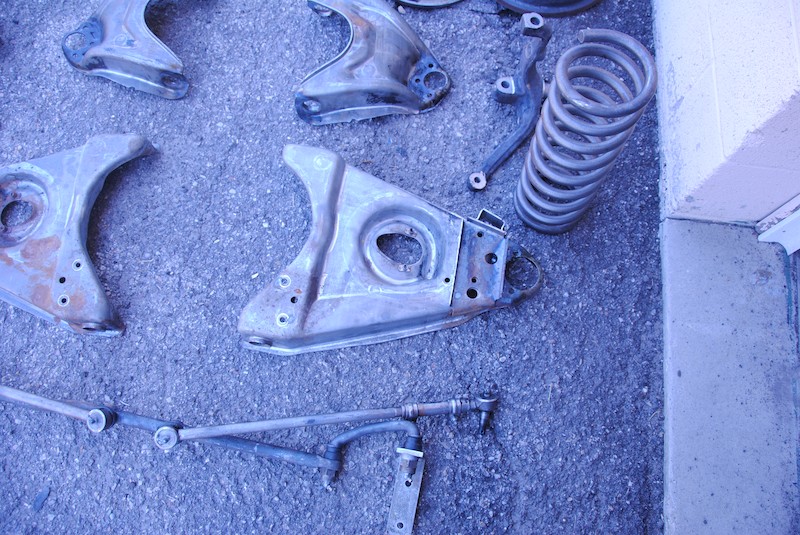
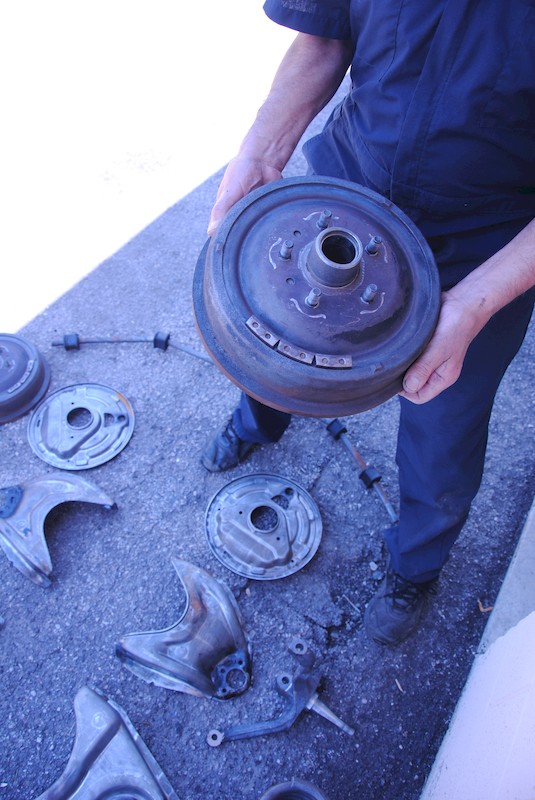
Mike checked everything out before taking the parts for sandblasting and then powder-coating them in semi-gloss black to simulate the hue of the perfunctory factory paint.
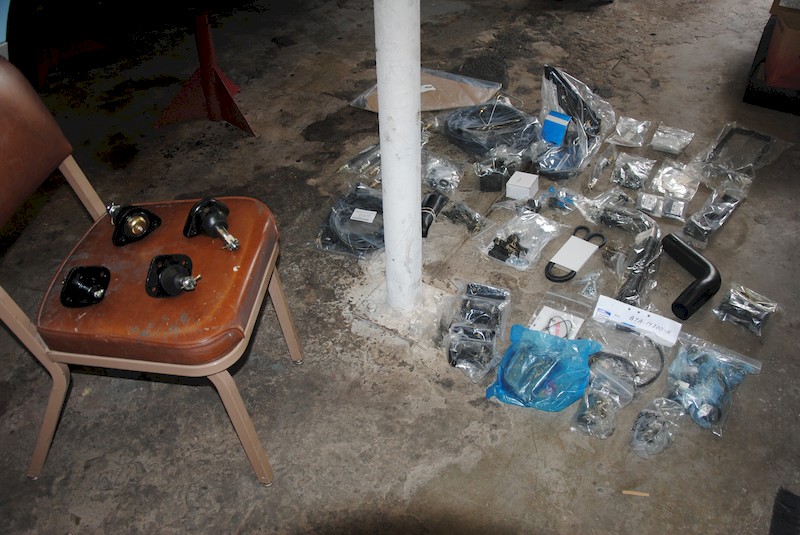
I placed an order for parts with Concours Parts: ball joints, control arm bushings, hoses, spark plug cables, gaskets, and a lot of other items. These parts arrived in several boxes, and they were great to see (the service by Concours Parts is first-rate, as are the parts).
Check out these images on the work on the car accomplished so far:
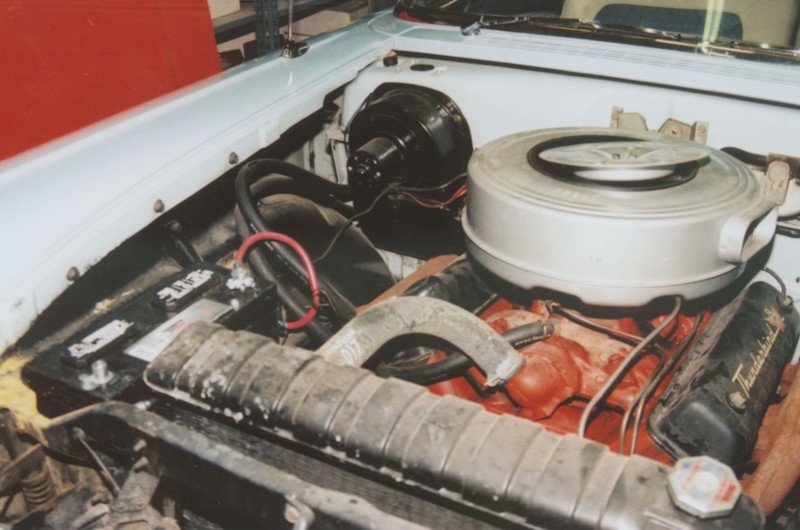
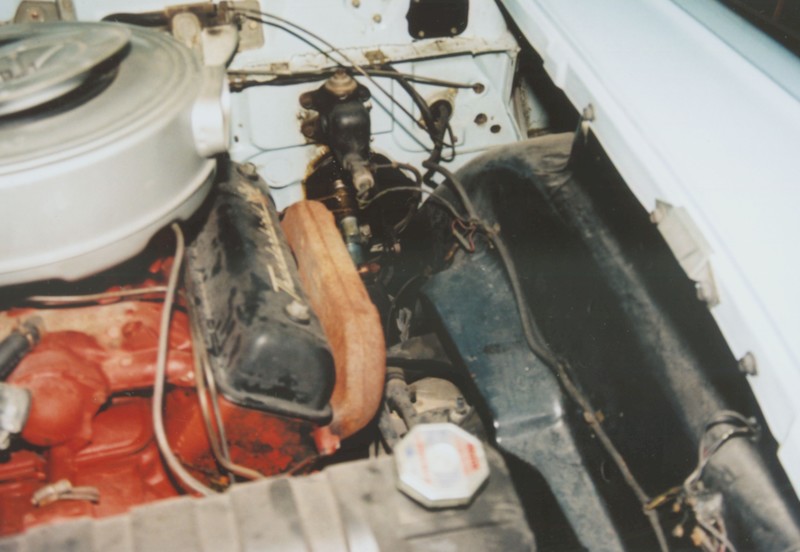
Due to storage in a warehouse and hangar for nearly 20 years, neither of which venues were hermetically-sealed, the Vicky picked up a lot of old fashioned airborne dust and dirt in the engine compartment and on the underside. The dirt came from frequent wind-born storms in St. George, Utah, where the car was parked next to my father’s restored Stearman. Coupled with the over-exuberant lubrication Ms. Jackson ordered for decades, the dirt just aggregated under the hood and underneath.
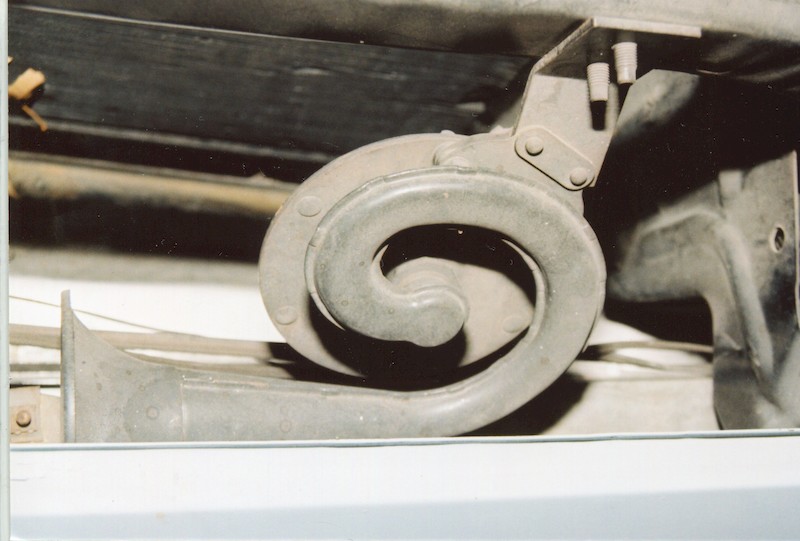
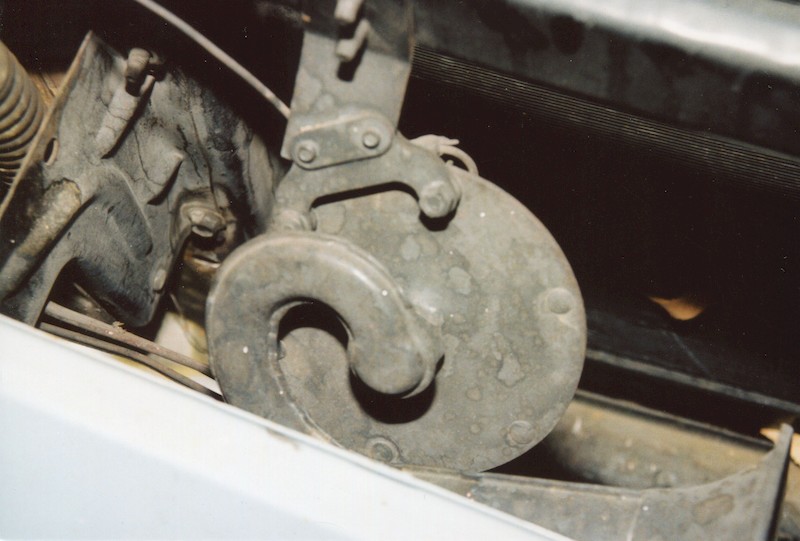
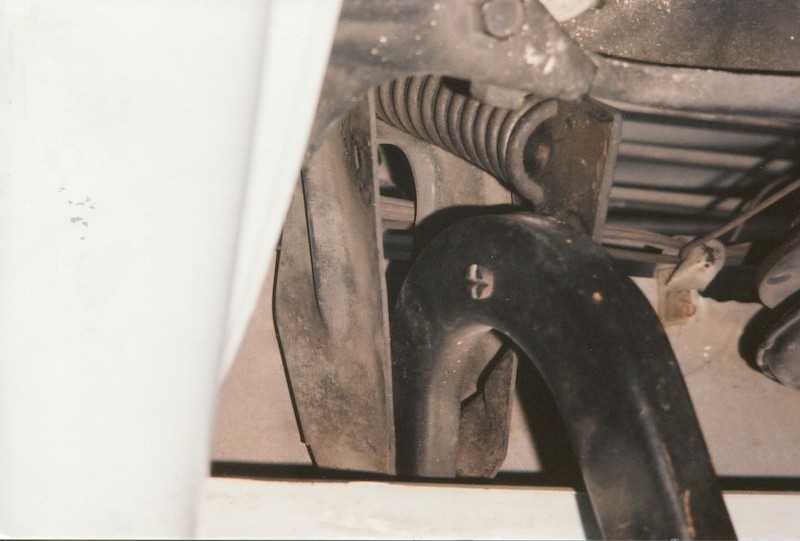
The horns best exemplified the awful conditions under the hood. A thin patina of oil “cemented” a layer of fine, talcum-like dirt that largely obscured the factory black finish.
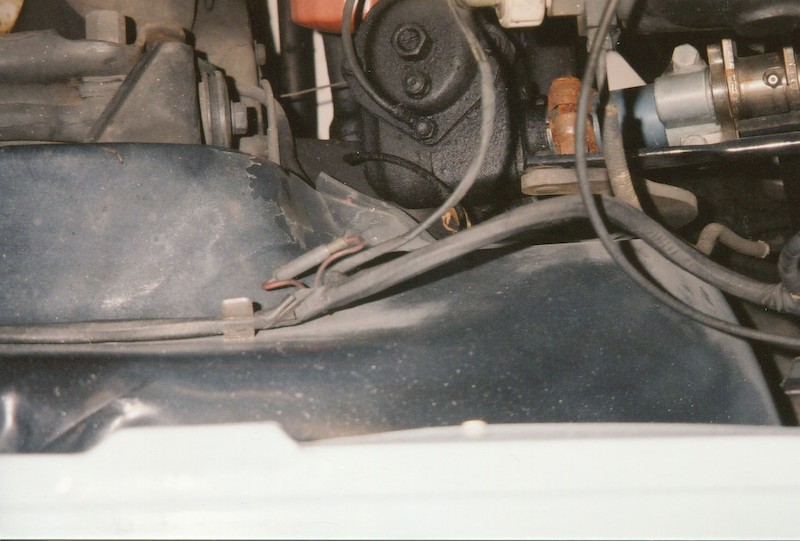
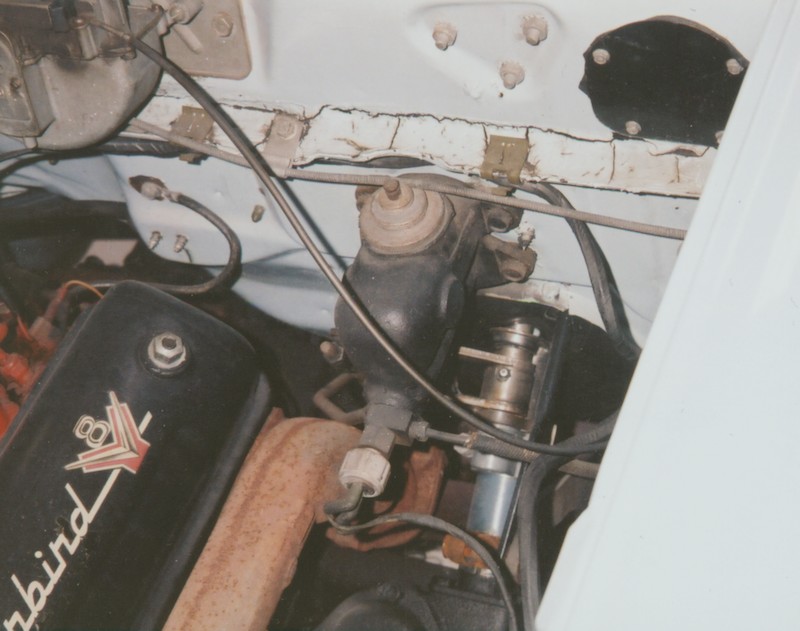
With the hood open and looking straight down onto the steering box and over the driver’s side engine compartment panel, the mess is evident. Like so many other parts under the hood, the steering box was heavily encrusted with thick grease and embedded dirt.
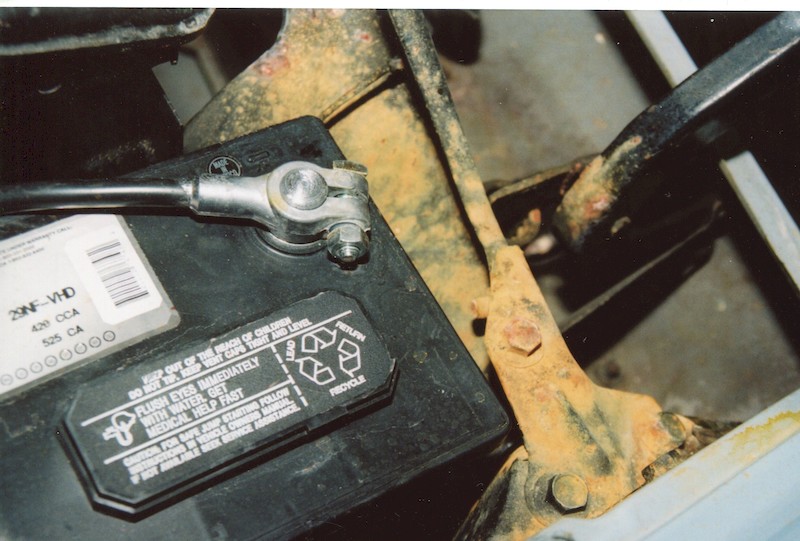
A problem occurred during a six-month period when the car wasn’t started. Somehow, I think, vapors from the battery escaped and ate away the paint from the sheetmetal adjacent to that battery. Fortunately, the rust was only on the surface, but what an unsightly mess.
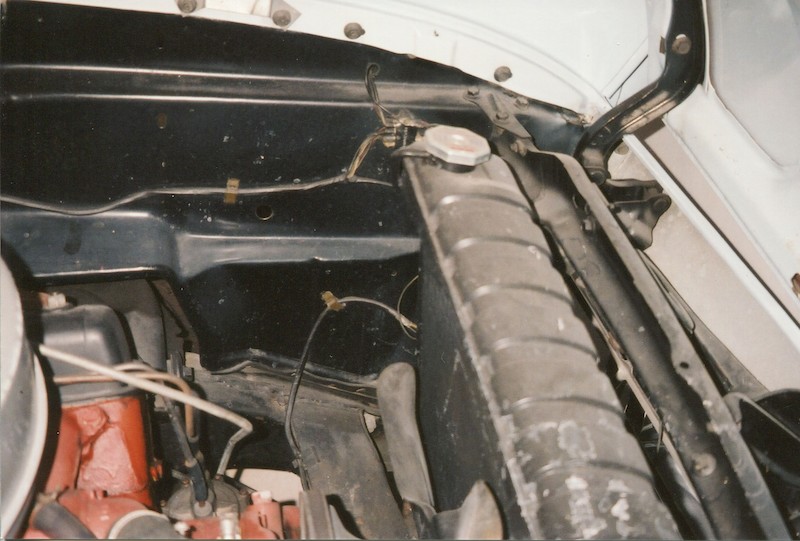
Looking across the top of the dirty radiator, you can see the condition of the radiator support, the driver’s side hinge, the fan, and the inner fender panel. These items would clean up with a good, soapy wash.
The hinge assembly was tacky though the dirt was only superficial and mostly washed away. Still, the part will be refinished: like other parts under the hood, it will be media blasted and powder-coated.
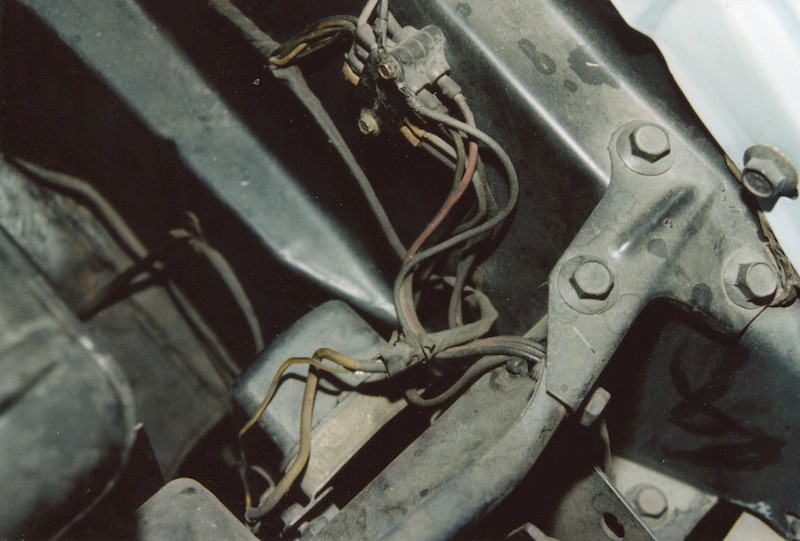
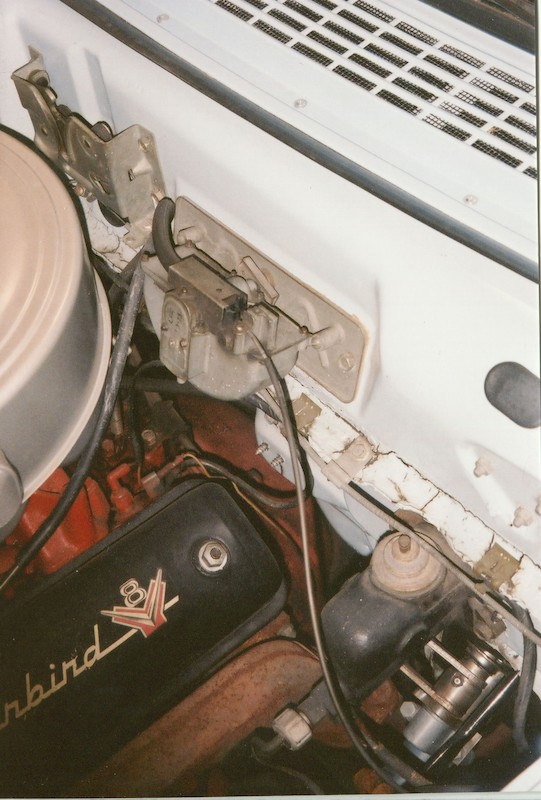
Just toward to the radiator support from the previous picture, the somewhat ungainly junction box and the voltage regulator can be seen. Before I got the car, an over-enthusiastic “someone” liberally sprayed black paint on everything that will require a careful wash down with a lacquer thinner soaked rag to reveal the color-coding on the wires. This junction box and the voltage regulator will be replicated for both scale Vicky models – as they were in 1978 on the first model (though these parts on that model were misplaced).
The firewall also aged with the years. The seam caulking had cracked out of the pinch weld, the parts are dirty and greasy, and everything needed to be cleaned up – I’ll be repainting the firewall because of the many small cracks, small areas of rust, and so forth.
Another view of this part of the firewall shows the poor aesthetic condition of the column shifter mechanism, the chipped paint on the steering column, and the general tattered condition.
Steam cleaning the underbody:
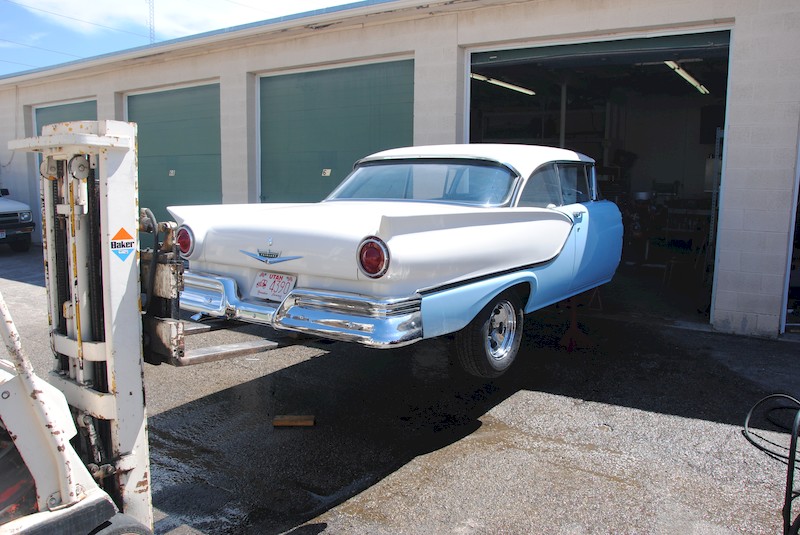
After Wayne Egbert labored for a full day hand-scrubbing the front frame members, we decided to have the underside of the car professionally steam cleaned. We put a floor jack under the front cross member, moved the car out of the building, and then had to lift the back of the car with a fork lift (arms carefully placed under the rear crossmember – avoiding the gas tank) to get it sufficiently high off the ground so the steam cleaner could get under the car and clean off the hardened grease-goo, dirt and the like. It took three hours to clean the undercarriage and frame.
It was quite a sight to see the Vicky suspended like this!
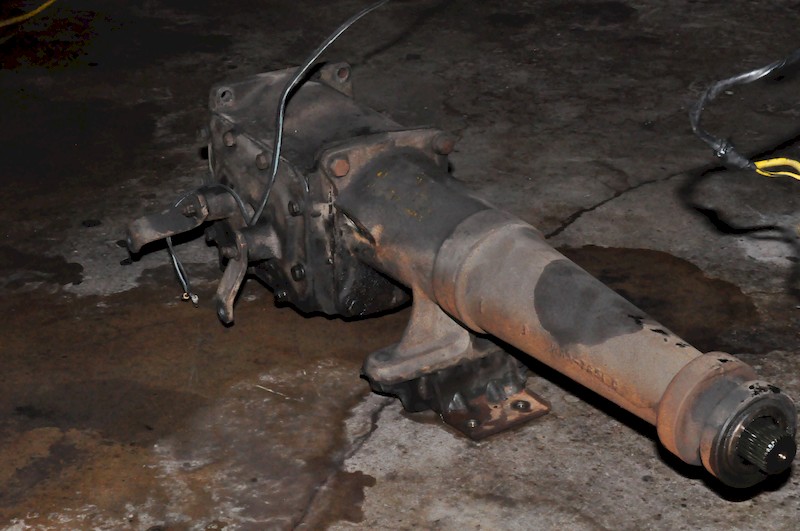
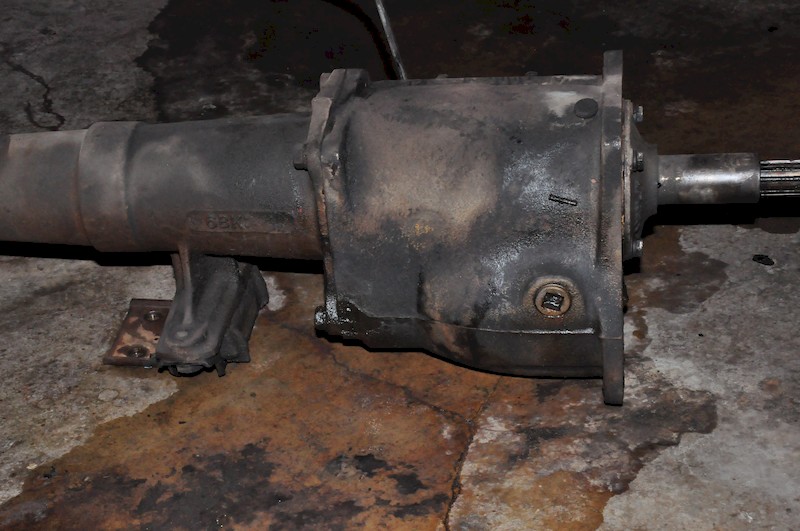
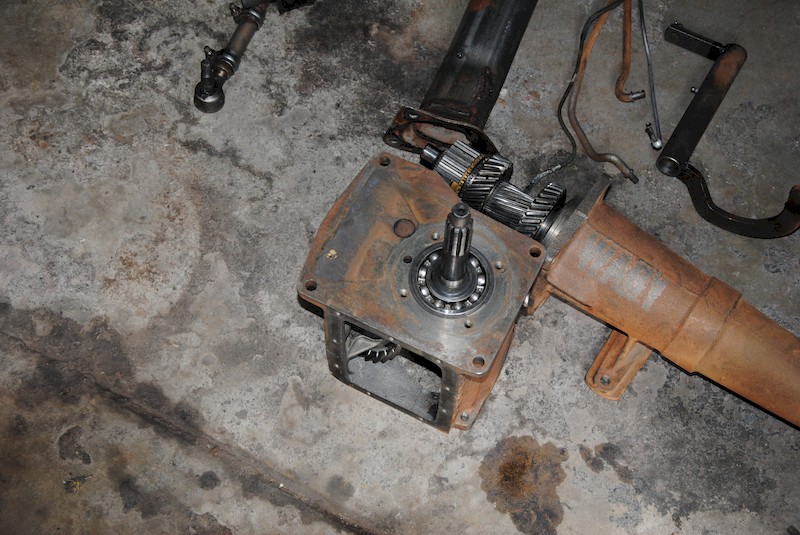
The car was built with the venerable three-speed manual transmission. Along with the engine, Mike pulled the transmission so it could be taken apart and emptied of the now-nasty 1956-installed gear oil. Mike disassembled the transmission and had everything hot-tanked to remove the crease and crud that had built up since late 1956. The bare metal parts will be coated with steel-colored paint.
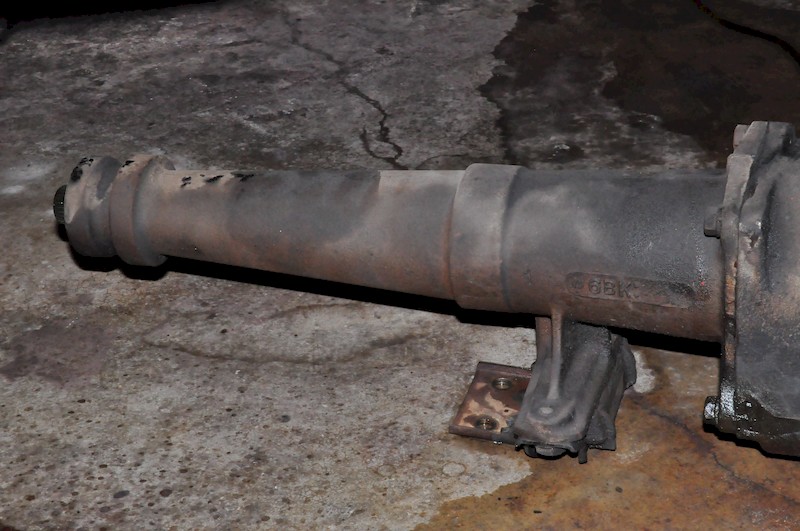
There is an integral mounting boss on the tailshaft that bolts to the cross member which, in turn, bolts between the frame rails. The transmission probably wasn’t painted from the factory – but we’re going to apply a few coats of “cast iron”-colored paint after the transmission is disassembled, cleaned, painted and reassembled.
The tailshaft detail will be essential to a correct model.
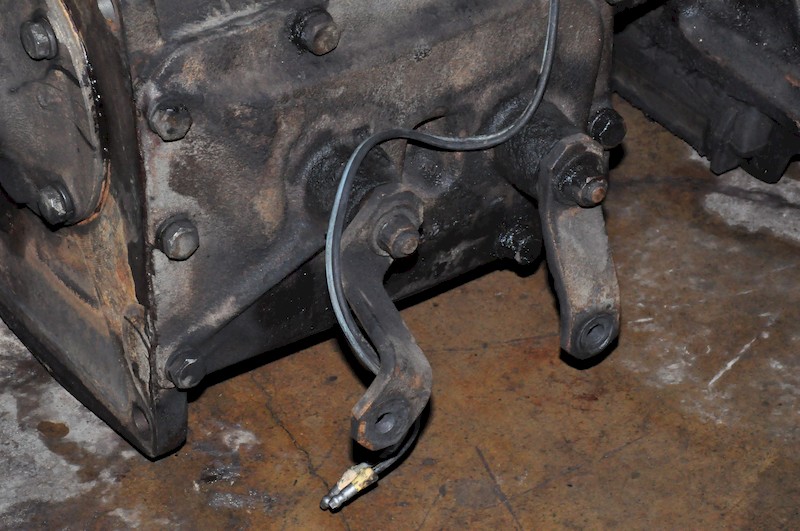
The levers that activate the three forward, and one reverse gears, are bolted to the side of the case. These brackets are activated by levers that are attached to the steering column which, in turn, hook to the shift lever at the top of the steering column.
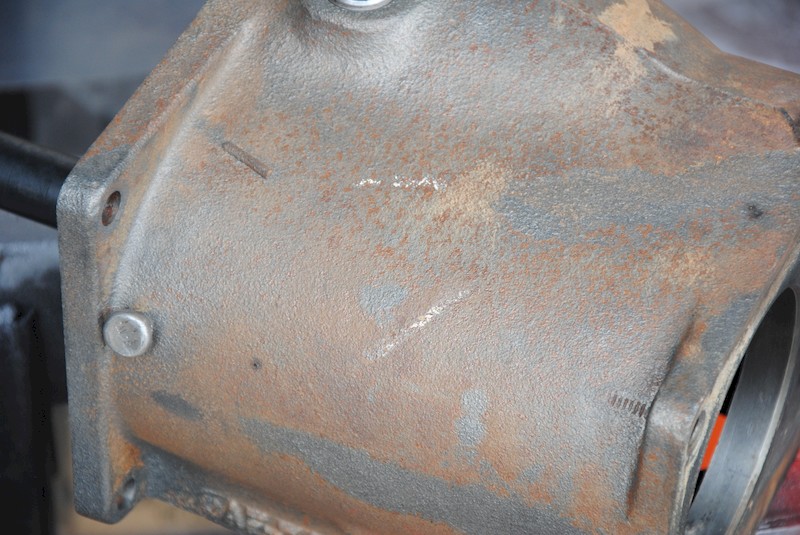
When the hot-tanking process cleaned the grime from the transmission tail shaft, we noticed some lettering and witness marks. Note the lettering on the side of the tail shaft. Before painting the housing, Mike made a stencil (and took some pictures) so the letters could be reapplied after cast iron paint was applied.
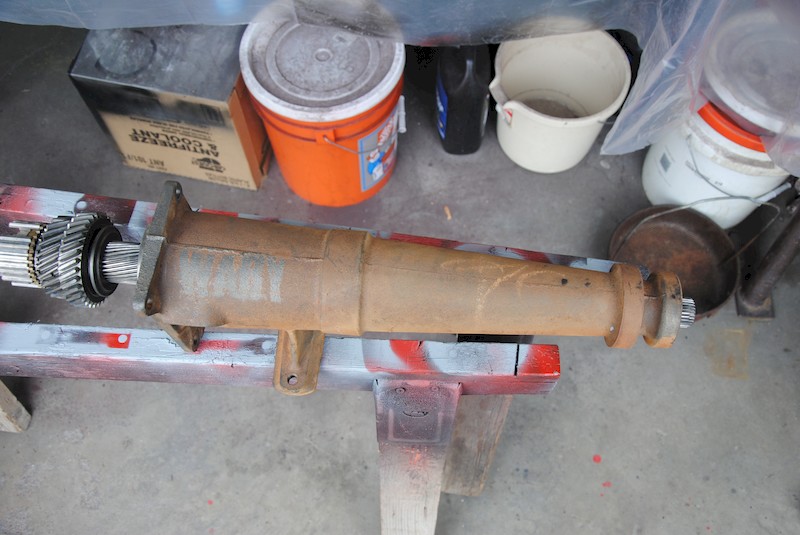
Note the lettering (“WABY”) found on the side of the driver’s side of the tailshaft factory lettering!
We also found what appears to be a “7″ scrawled onto the side of the gear box. This witness mark was replicated after the transmission was treated to a couple of coats of cast-iron paint.
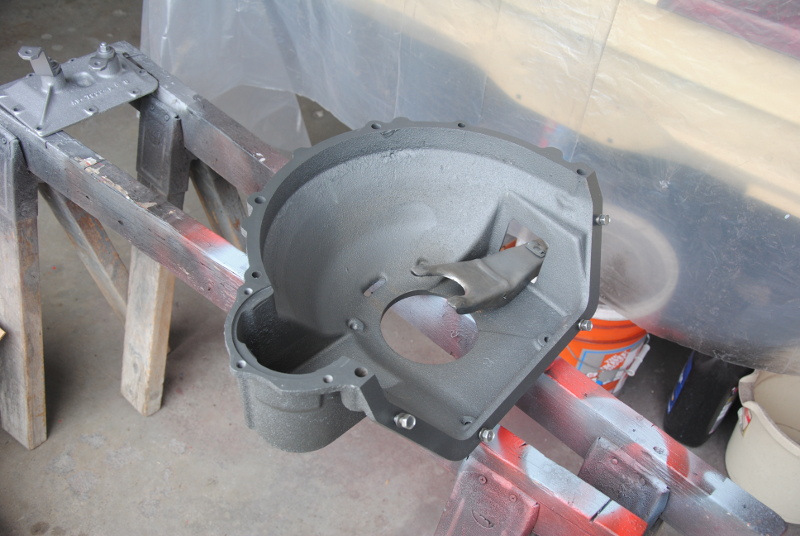
Here’s the inside of the three-speed bellhousing, with the clutch fork. This part, too, was sandblasted and painted with a steel-colored urethane-paint.
Pulling the front clip
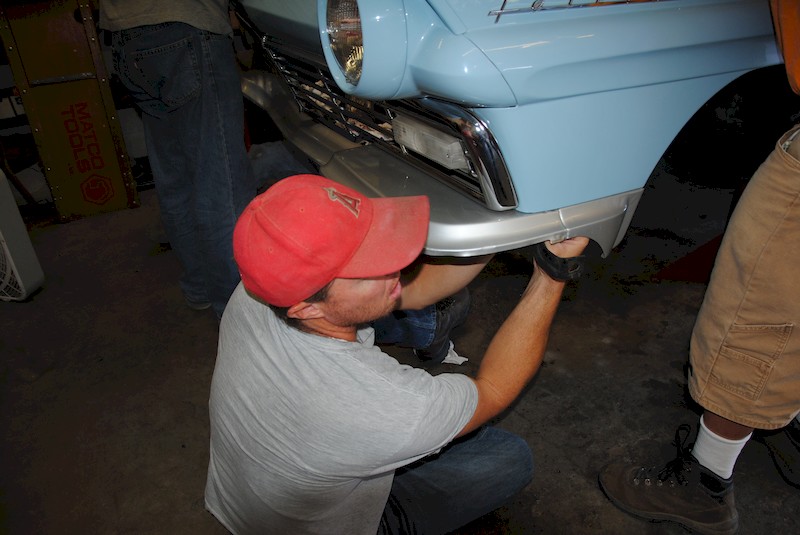
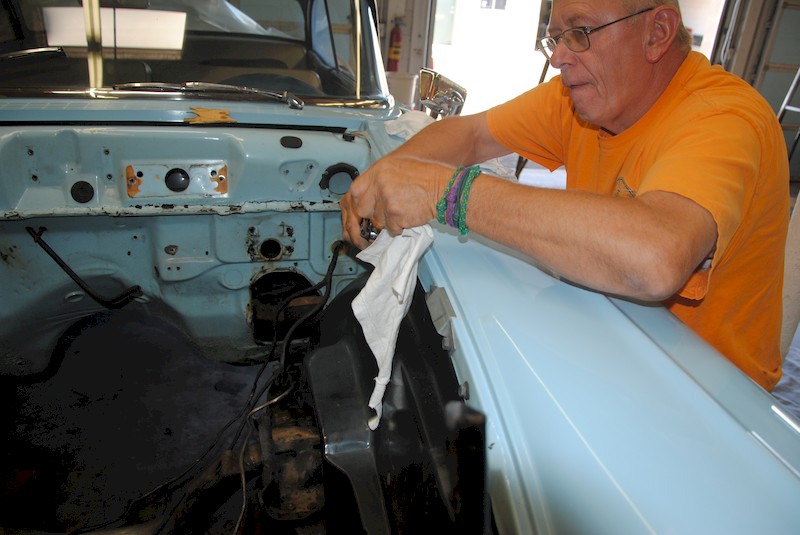
After Mike Smith removed the entire front suspension and steering system, it became even more apparent how really dirty the front clip of the car still was. And, even with the engine, transmission and the suspension and steering parts absent, I couldn’t get a good look at the firewall and associated parts which access was necessary so I could build properly-detailed and authentic scale miniature Club Vicky models. Therefore, for a couple of reasons, I decided that we needed to pull the front clip (fenders, valence, grille, bumper, inner engine compartment panels, and a few miscellaneous parts) so that I could get the information I needed for the model as well as to permit us to properly clean and restore the front of the 1:1 car.
My initial thinking was that we could pull the front clip (after removing the bumper and grille) as a single unit by simply unbolting the fenders and the radiator support. That idea, while appealing because it would have permitted us to maintain the relationship of the major parts when it came time to reassemble the car, was doomed because the fenders –where they attach to the body – were bolted laterally through the lower cowl which effectively meant that the door would have to be pulled to move the fenders out far enough to slide them past the main body structure. Obviously, my original plan wasn’t going to work. The other problem was that the entire front had to come apart so that each part could be fully and appropriately restored. Also, given the then-developed plans to modify the front clip sheet metal, that work couldn’t be best done if the fenders were still attached to one another and to the inner engine compartment panels. Of course, leaving the front clip in one piece would have effectively prevented repainting the front clip and then powder coating the inner panels).
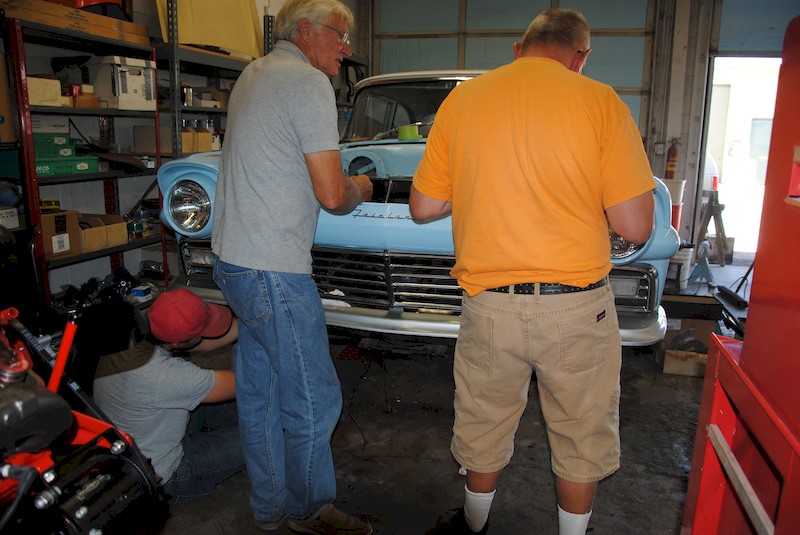
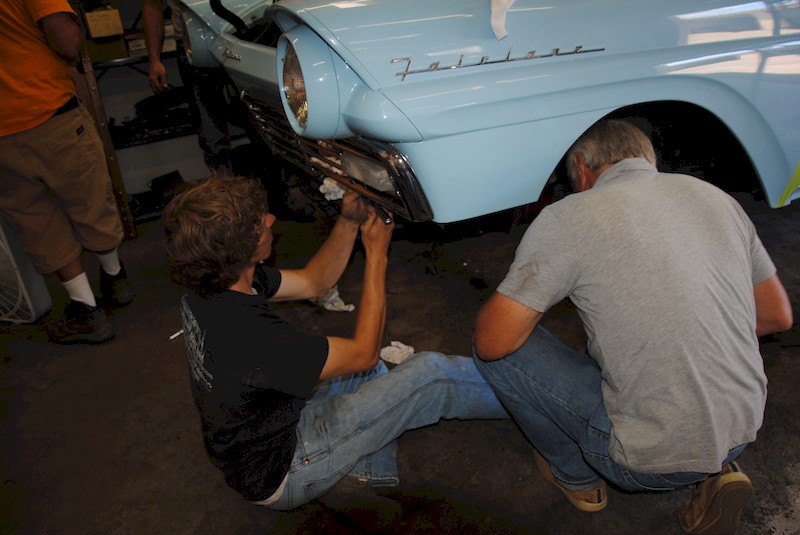
Therefore, I proposed (and bodyman George Layton agreed), that we would need to entirely disassemble the front clip – essentially, to reverse the original Ford factory assembly process. I hope you enjoy the following photos essay of a three-hour job that commanded the time of four men.
The early thinking was that we could remove the bumper, the grille, and all of the bolts holding the fenders to the body and unbolt the radiator support, and simply slip the complete front clip forward and away from the car. Au contraire!
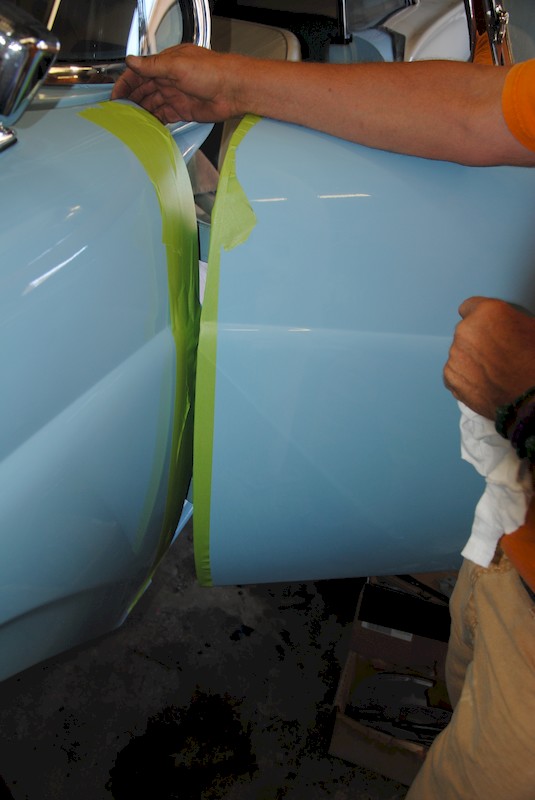
I decided that we needed to protect the trailing edge of the fenders and the leading edge of the doors from paint damage so we ran lengths of green 3-M painters tape along the edges. As it would turn out, we’d repaint the doors.
That “one-piece”removal theory didn’t pan out, so Chad Egbert started to unbolt the argent-painted panel (rock guard) from the fenders. We took great care with this panel because the paint was mint, and because it sports, on the underside, the historically-significant United Airline Bill of Lading.
George Layton removed all of the bolts that secured the inner panels to the fenders, as well as removing the bolts that held the fenders to the cowl (4 to a side).
Here (left to right), Chad Egbert, his dad Wayne and George Layton talk about which bolts need to be removed. All bolts will be cleaned and replated in Zinc.
Shaun Egbert here labors to remove the bolts that hold the valence to the lower fenders. Wayne looks for the nuts to secure with the box wrench.
With the panel between the headlights removed, George discovered some largely dried up “rope caulking” applied at the factory to close the gap between the bolt and the metal panel and top of the grille. By keeping the painted panel isolated from the grille that sits right below it, rattles (and scrapes to the paint) were prevented. This vintage caulking will be removed and replaced once the panel is cleaned, modified and repainted.
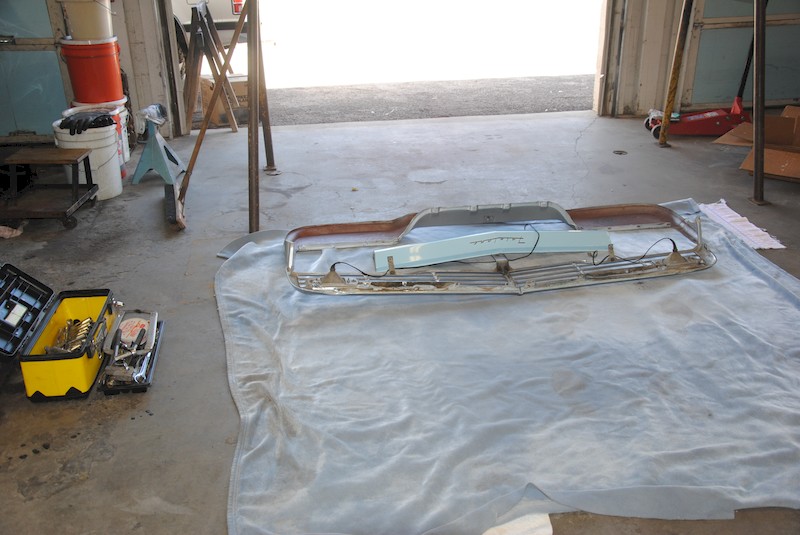
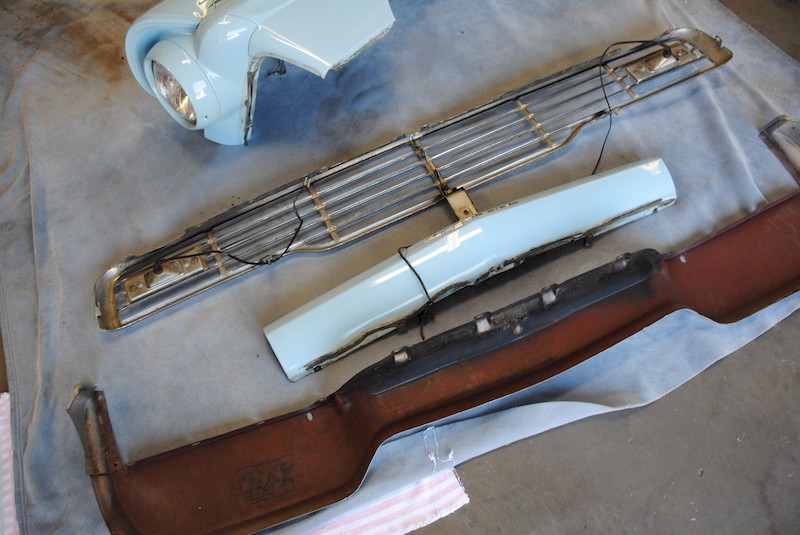
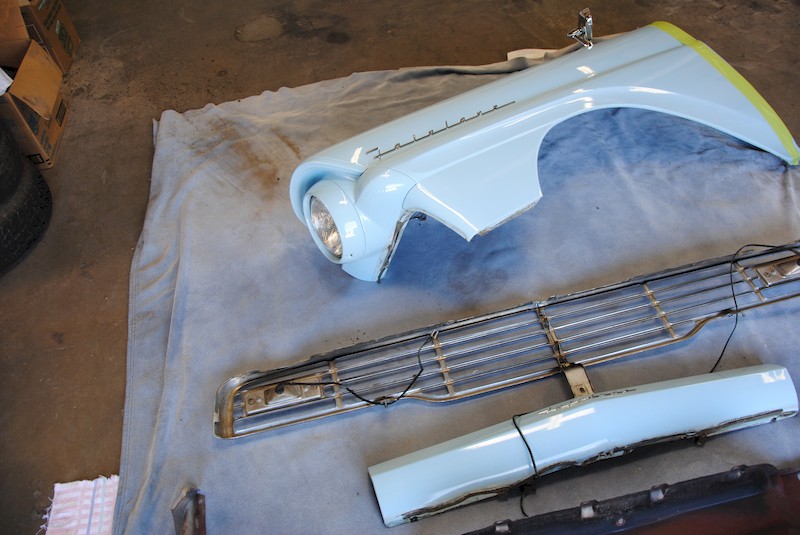
Here’s where things got a bit dramatic. I laid out an inexpensive blanket I purchased from a thrift store (to protect the parts from the rough floor): It was quite a sight to see all of the parts laid out on the floor!
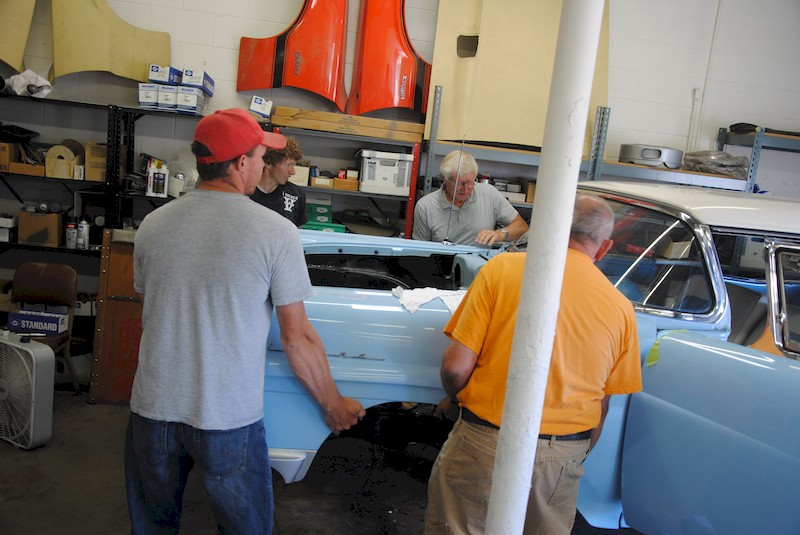
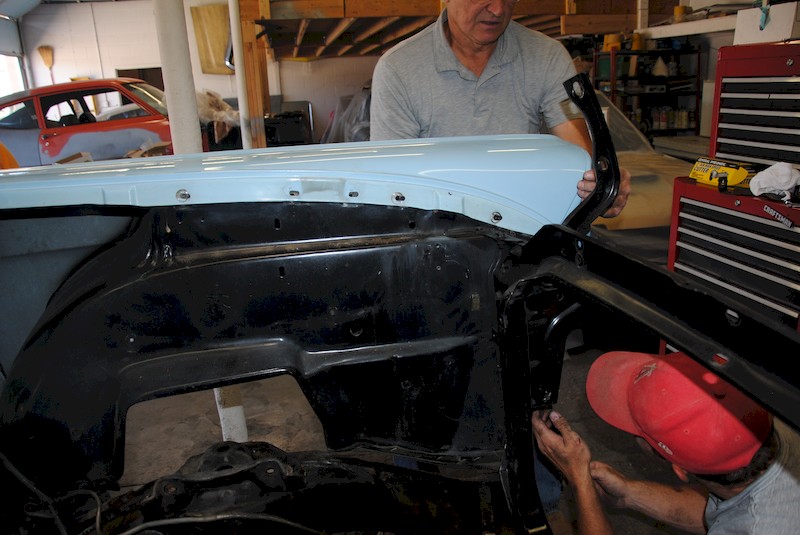
With the stone guard, grille panel and grille removed, and all bolts stored in a box for zinc-plating, we started to gently pull the front fenders from the car. This was very nerve-racking because we didn’t want to damage the sheetmetal.
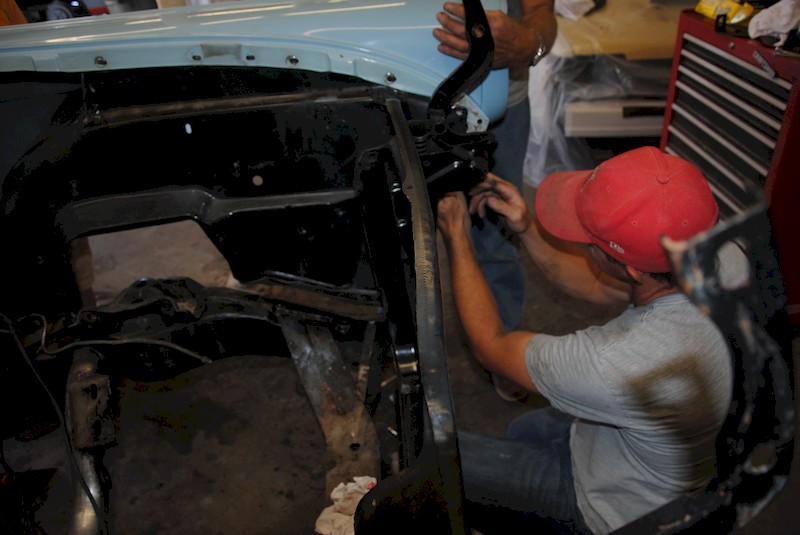
Not surprisingly, Chad found two more bolts that held the fenders to the radiator support and removed them.
Eureka! The fender is removed.
The fenders were placed on the blanket along with the other front clip parts – the color under the gravel guard is factory red oxide primer – check out the United Airlines’ 1957 Bill of Lading!
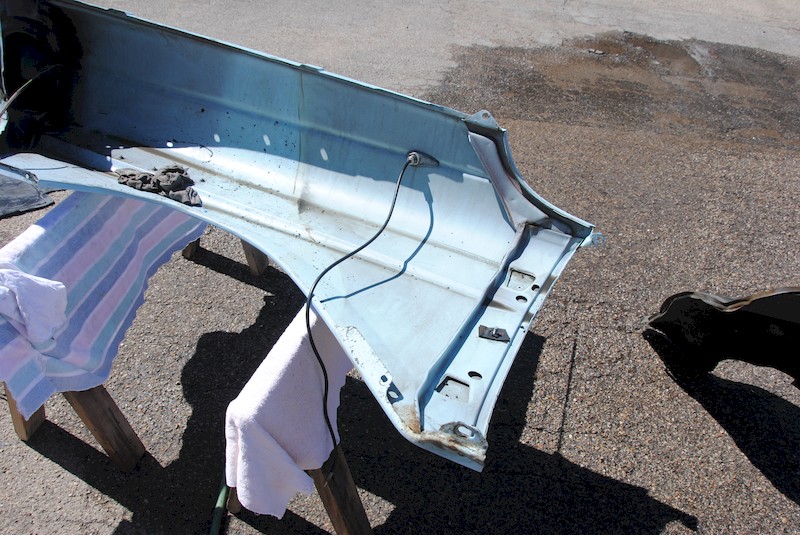
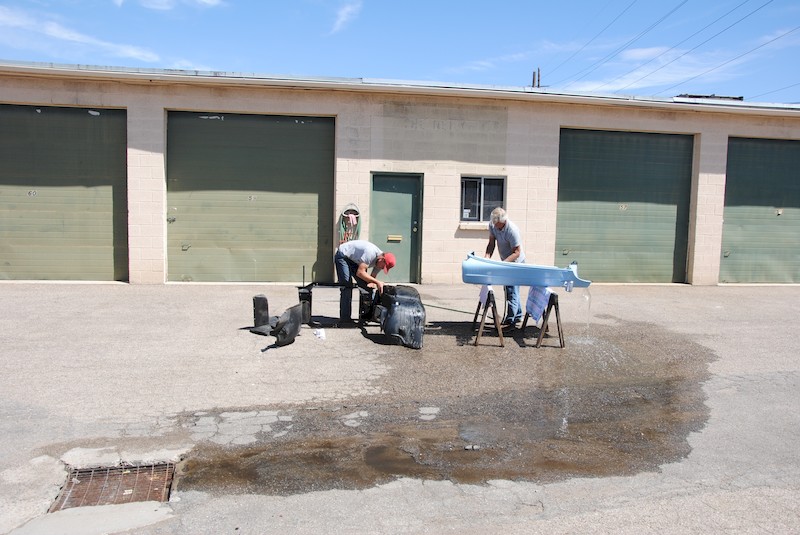
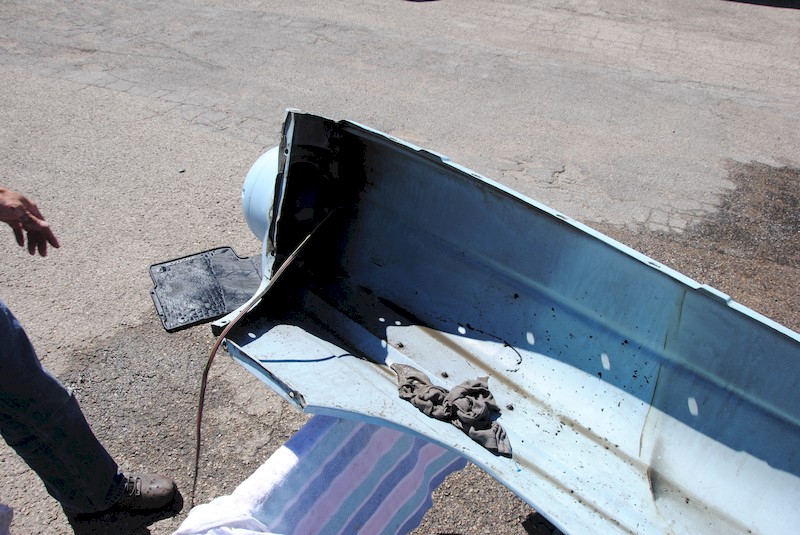
We discovered that the fenders were incredibly dirty on the inside. Right after this picture was taken, we took the fenders to the parking lot where they could be washed while laid atop a well-padded sawhorse. The grille – chrome plated stamped steel – is perfect needing only a careful cleaning and coat of wax.
Typical of the era, the back of the inside of the fender at the back of the panel has a strengthening structure that stabilizes the shape and creates a bracket so it can be bolted to the car. The lower inside edge/flange of the fender – showing a bit of surface rust and chipped paint from years of rocks kicking up from the road – will be repaired and painted during the modification phase.
Taken from across the alley way, this image shows the inside of the front fenders, and the inner engine compartment panels, were carefully scrubbed to remove dirt and debris that had accreted since late 1956.
Two things really surprised us when we placed the front fenders upside down on soft towels. The first was the very substantial volume of ordinary dirt present above the headlight area, and the fact that there was no exterior paint color inside the headlight surround area – – no wonder the “eyebrow” area is notorious for rusting out! Second, there was, however, thin red oxide primer in that area. We’re going to thoroughly clean the inside of the fenders, and apply Eastwood-brand Rust Encapsilator inside the headlight area and then paint that area in body colored paint.
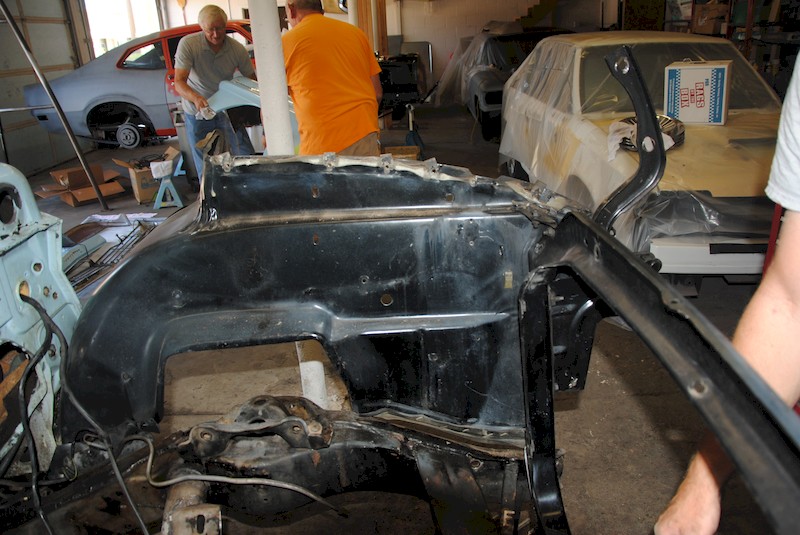
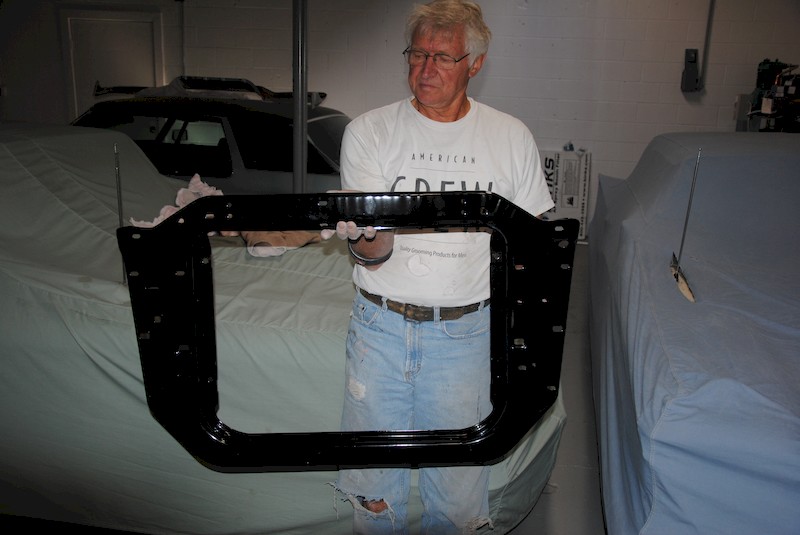
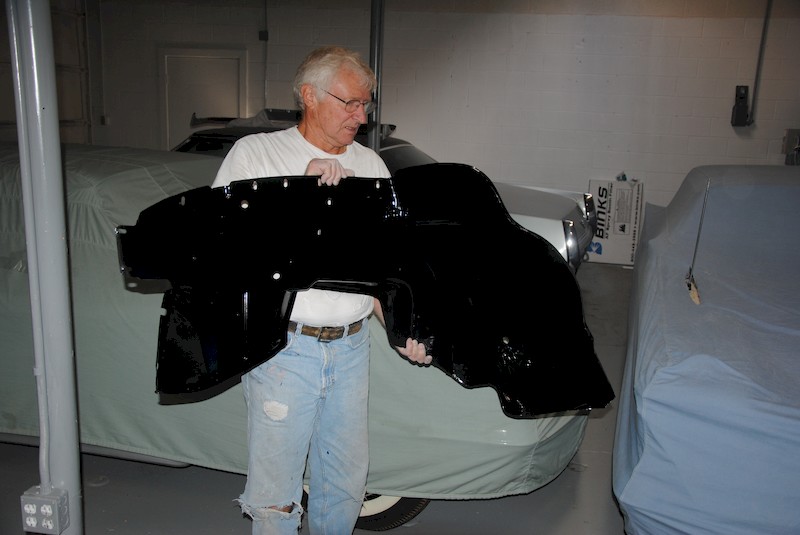
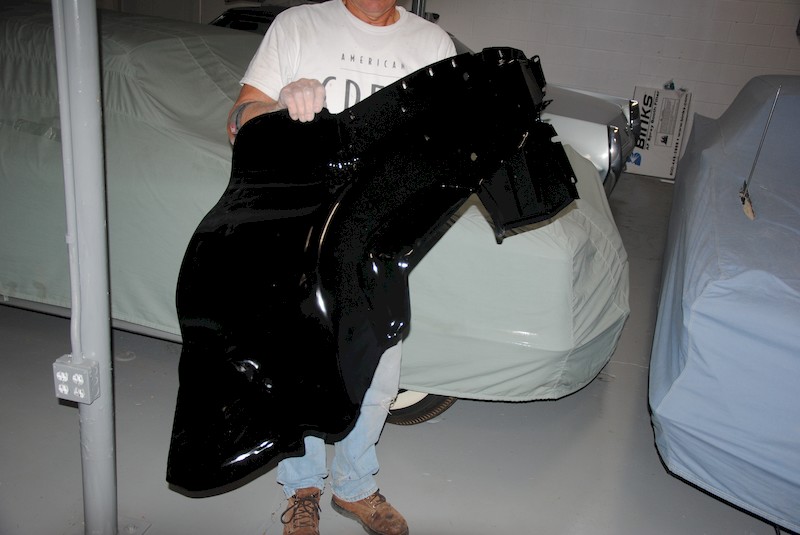
In this view, the inner panels and the radiator support are still attached. We separated these parts, media blasted them, and had them powder-coated in gloss black.
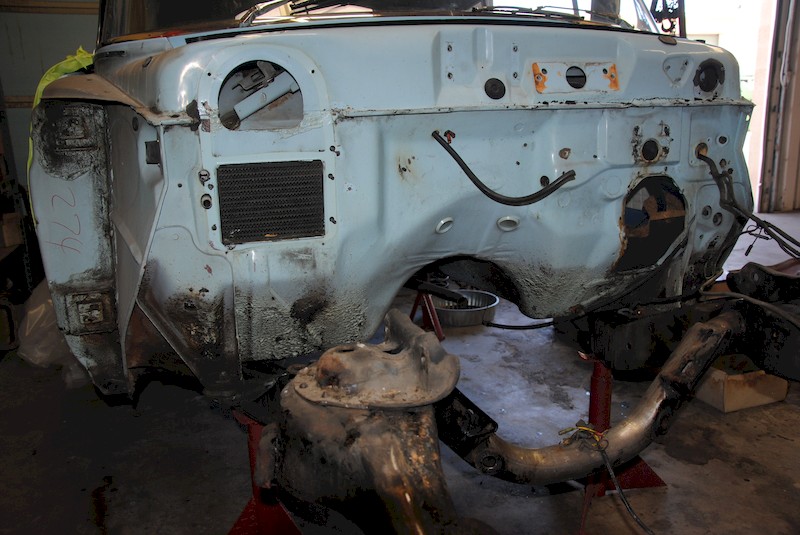
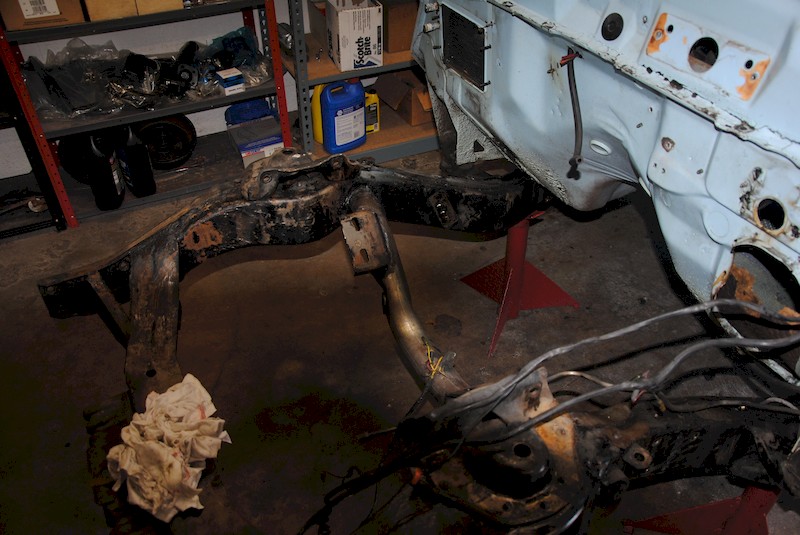
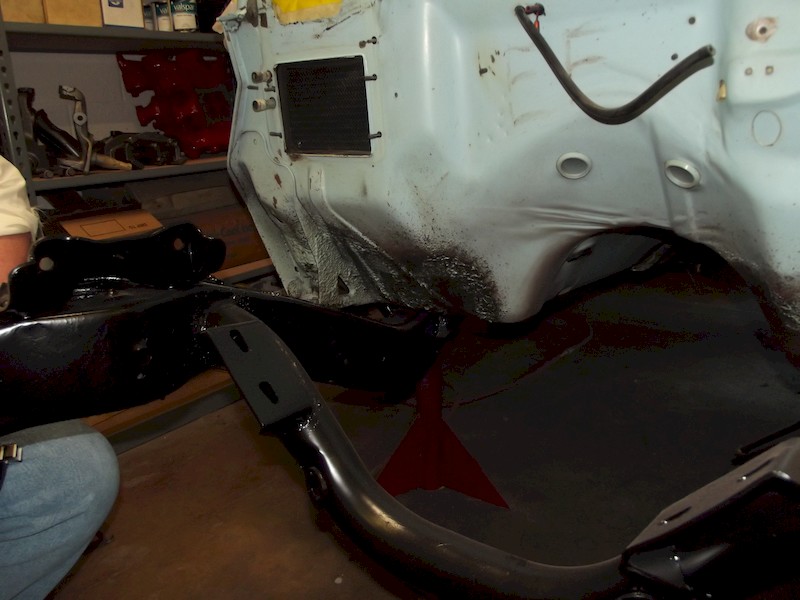
The car is quite a sight with the front clip, suspension, steering and engine/transmission removed. The frame needs a lot of clean up, and the firewall is structurally sound but dirty. We’ll be painting the firewall the factory color, but will preserve things like the witness number (“274″) on the passenger door bulkhead. The frame, of course, will be sprayed with matte black acrylic (Glassurit-brand) enamel.
In this additional view, more details of the frame and the firewall can be seen. The wiring loop at the bottom of the image will be carefully decoupled, too, before further work.
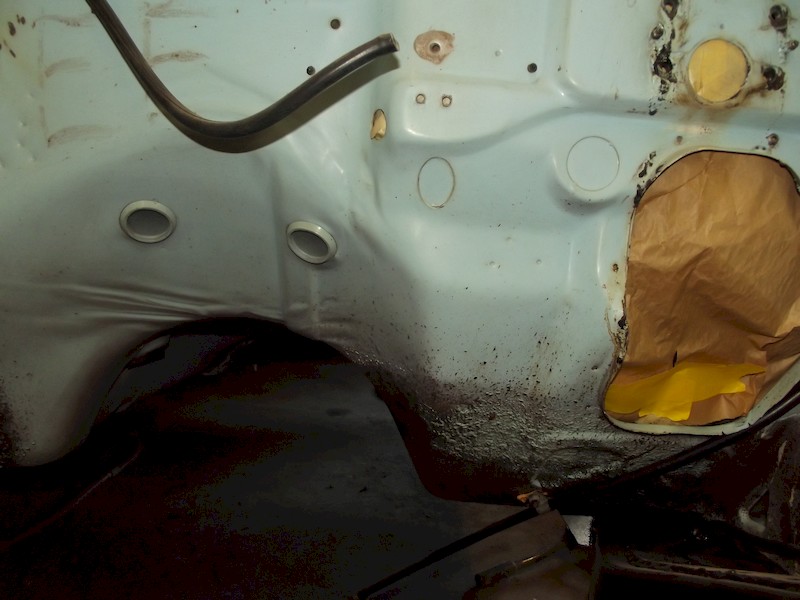
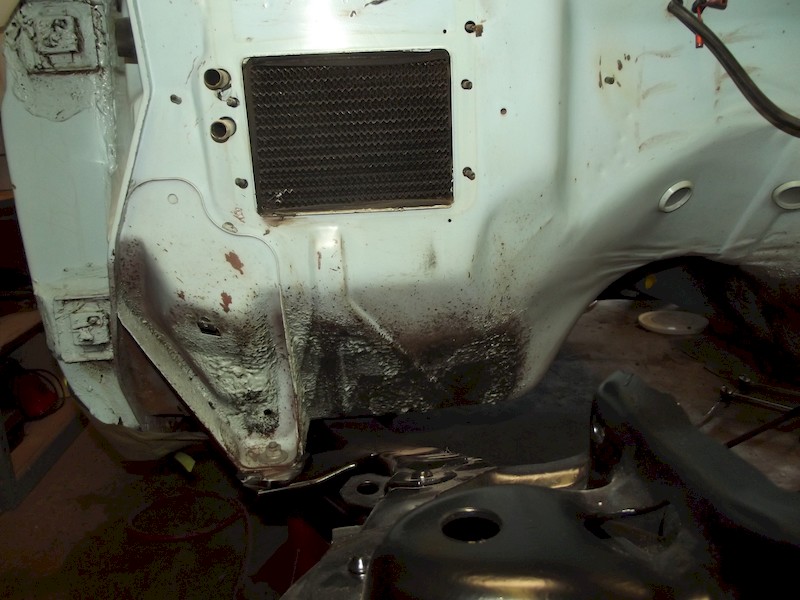
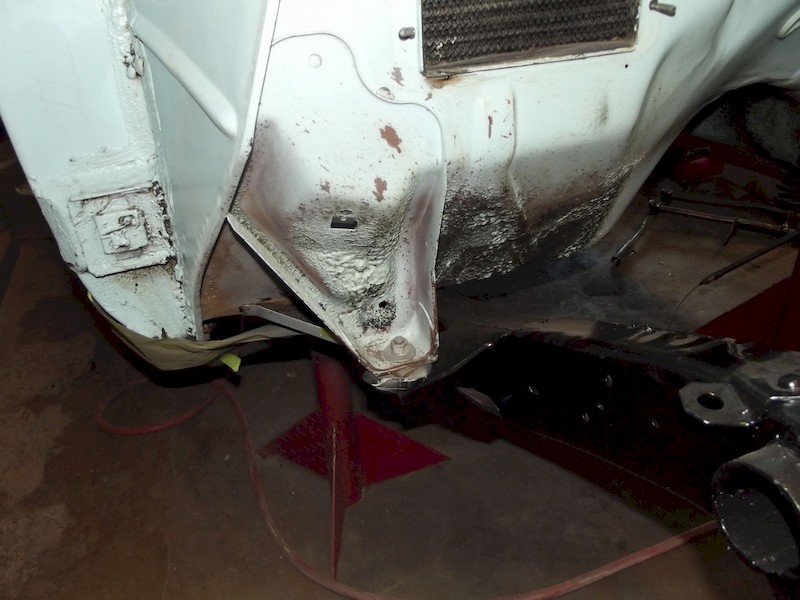
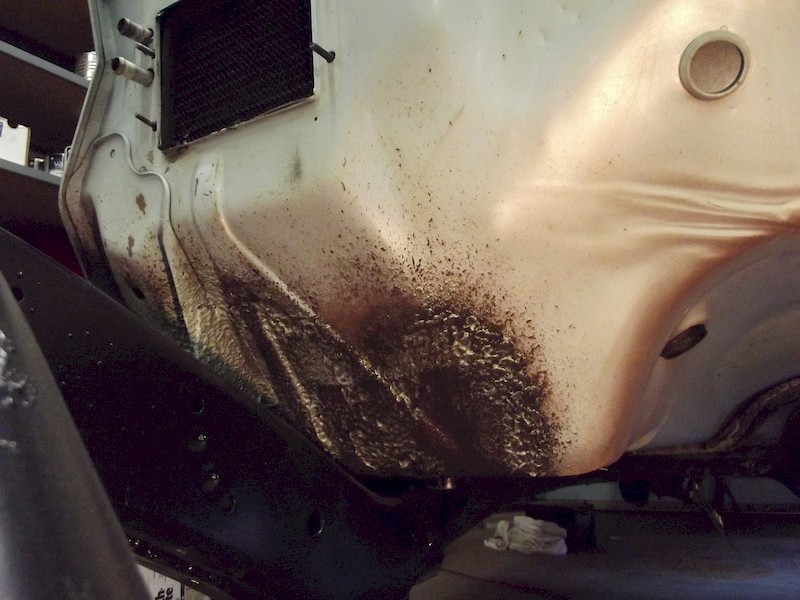
The driver’s side of the firewall, with the heater box and other parts removed, shows the surprisingly condition of the sheetmetal and the factory undercoating crudely sprayed, by the factory, just inside of the body-mounting bracket.
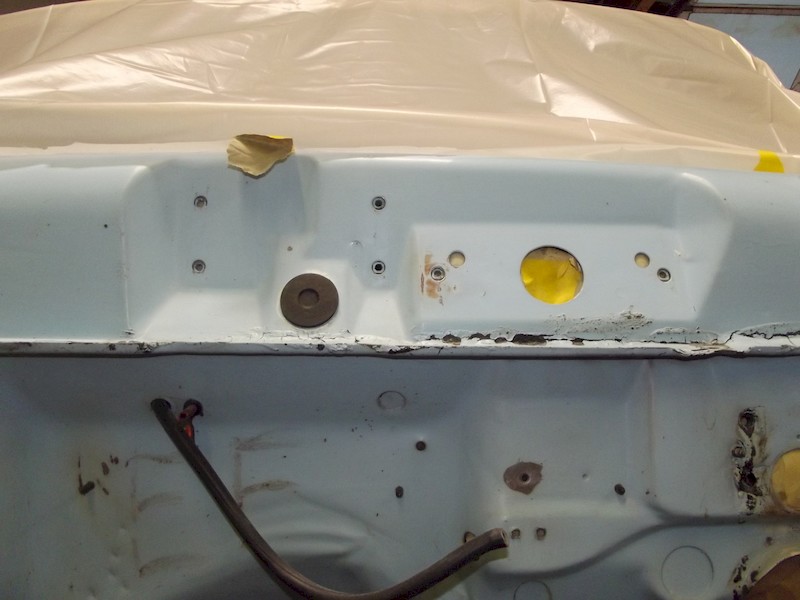
The bare firewall showed a lot of shapes that aren’t apparent when the car is screwed together. These shapes are essential to the high-end model builder who wants to build an authentic model. We’ll use these photos to create a fully-correct 1/25-scale firewall.
The middle-upper section of the firewall shows more detail including the crude factory application of seam sealer to the pinch weld that produced a once-piece firewall.
The lower section of the driver’s side of the firewall shows more factory undercoating, the large hole that hosts the steering column, and some baremetal around a screw hole – the un-coated metal never rusted.
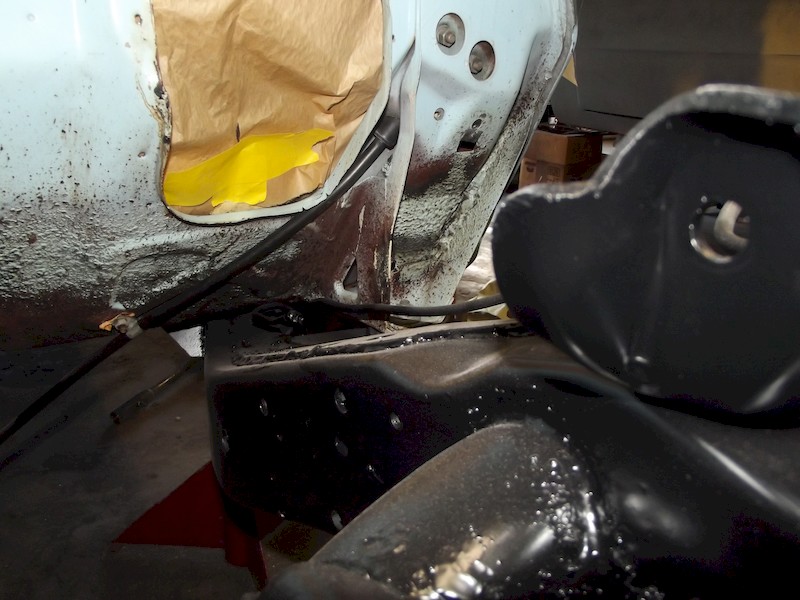
Seen in greater detail, check out the body-to-frame mounting “foot” at the front of the firewall. The factory undercoating will be removed before the blue color is sprayed.
Here’s the passenger side “mounting foot.”
When viewed from a slightly different angle, even more detail can be seen.
This close up shows even more detail on the passenger side of the unrestored firewall as it transitions to the underbody.
Powdered Coated Engine Compartment Panels:
At this time, the inner engine compartment panels, radiator support, hinges and a box of related parts were back from the powder-coater and they look great! Compare these photos to those showing the parts when they were first removed from the car. The parts were sandblasted, a little hammer and dolly work fixed one small bit of damage, and then the parts were powder coated in gloss black. A powder-coated finish is tough, chip and chemical-resistant, and needs only a wet rag to return to pristine condition. Check out these photos.

